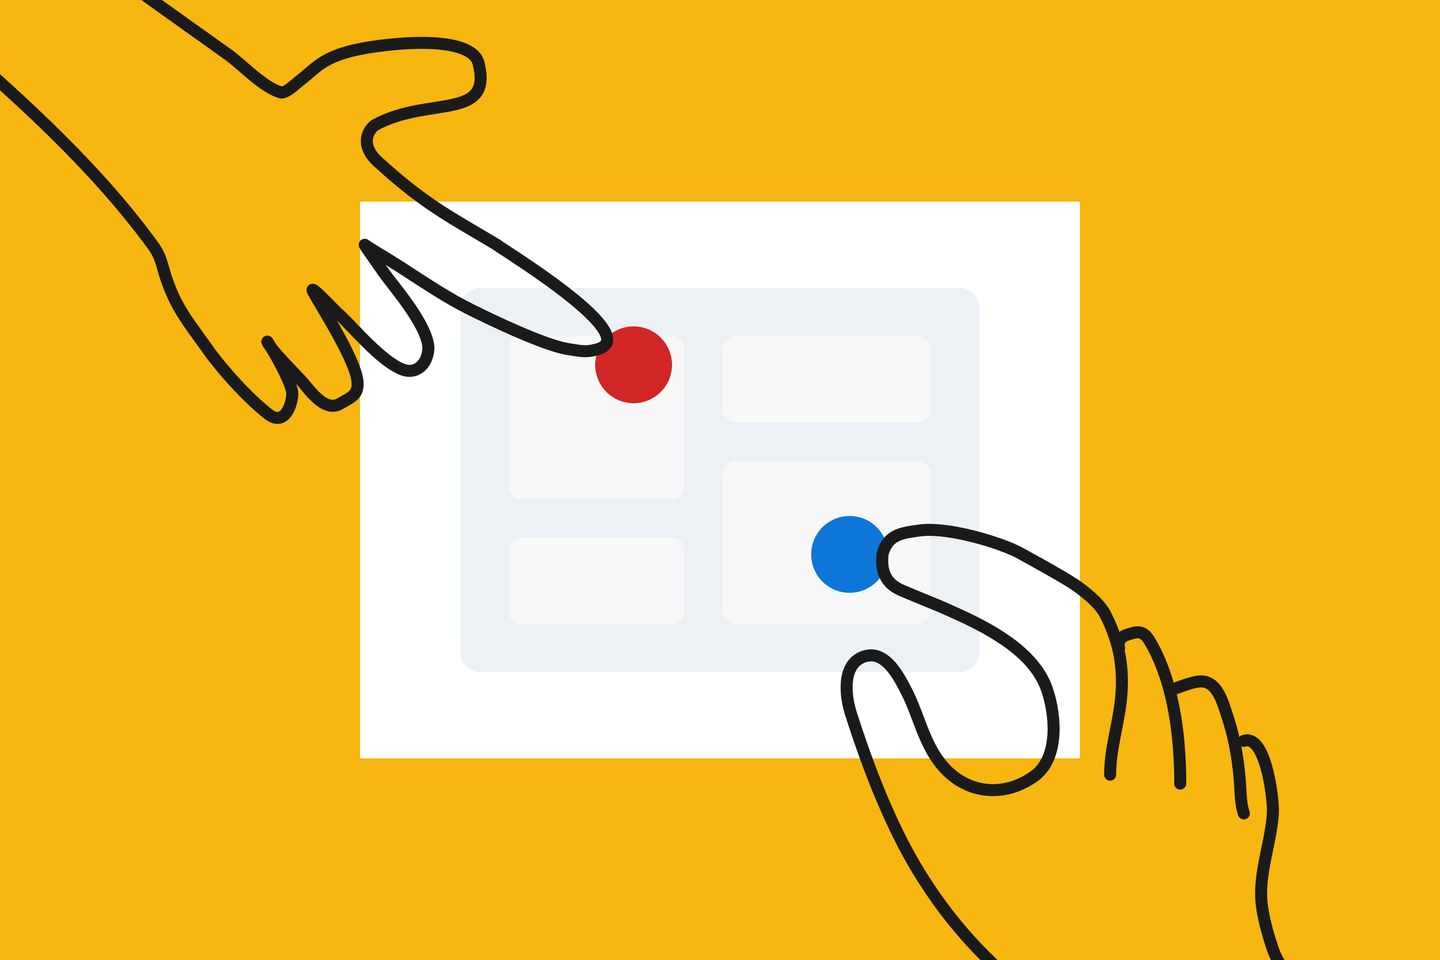
Bring Teams Together With a Design Studio
When ideas align, stars align
Jun 5, 2024
Imagine presenting a prototype you spent two weeks designing to your stakeholders. You tried to address as many pain points as possible based on your interview with 20 users. You drop your mic on the last screen and expect a standing ovation, only to hear comments like the margins are off, buttons are misplaced, and key features X and Y are missing. We’ve all been there.
As UX professionals, we learn what our users want and reflect it in the design. But stakeholders, who may have different goals, are often looped in once a draft prototype is ready, which causes a gap in expectation and unpleasant surprises. The question is, how might we improve the design process — so user needs are aligned with organizational priorities, and stakeholders become your allies?
In 2019, I started experimenting with a new workshop format that aims to include the stakeholders early in the design process. I named it “design studio.” Over the years, I used it with seven project teams at the University of Arizona Libraries, and it delivered the expectation every time.
The workshop is so simple that anyone can run with their own teams. Here’s how.
What’s a design studio?
Design studio is a lightweight workshop for understanding design goals and mindfully including stakeholders in the design process. The outcome is a list of goals that informs the project requirements and product design.
At the core of the workshop is a fully analog sketching session. This structured activity encourages project contributors to share their vision and empathize with the users. The rest of the workshop has several interactive activities to help build trust between the implementors and stakeholders.
Who should participate?
A design studio is good for groups of all sizes and doesn’t require the participants to have any previous design experience. That said, I had better success running the workshop with groups that include:
- 1-3 key stakeholders: those who make important decisions, such as product owners, sponsors, and department heads.
- 2-12 collaborators: members of the project team, such as UX researchers, product designers, developers, and content providers. You might also want to invite customer service professionals who have direct experience working with your users, or even the power users themselves.
Depending on your group size, plan on having 1-2 facilitators who are familiar with the steps of the workshop.
What do I need?
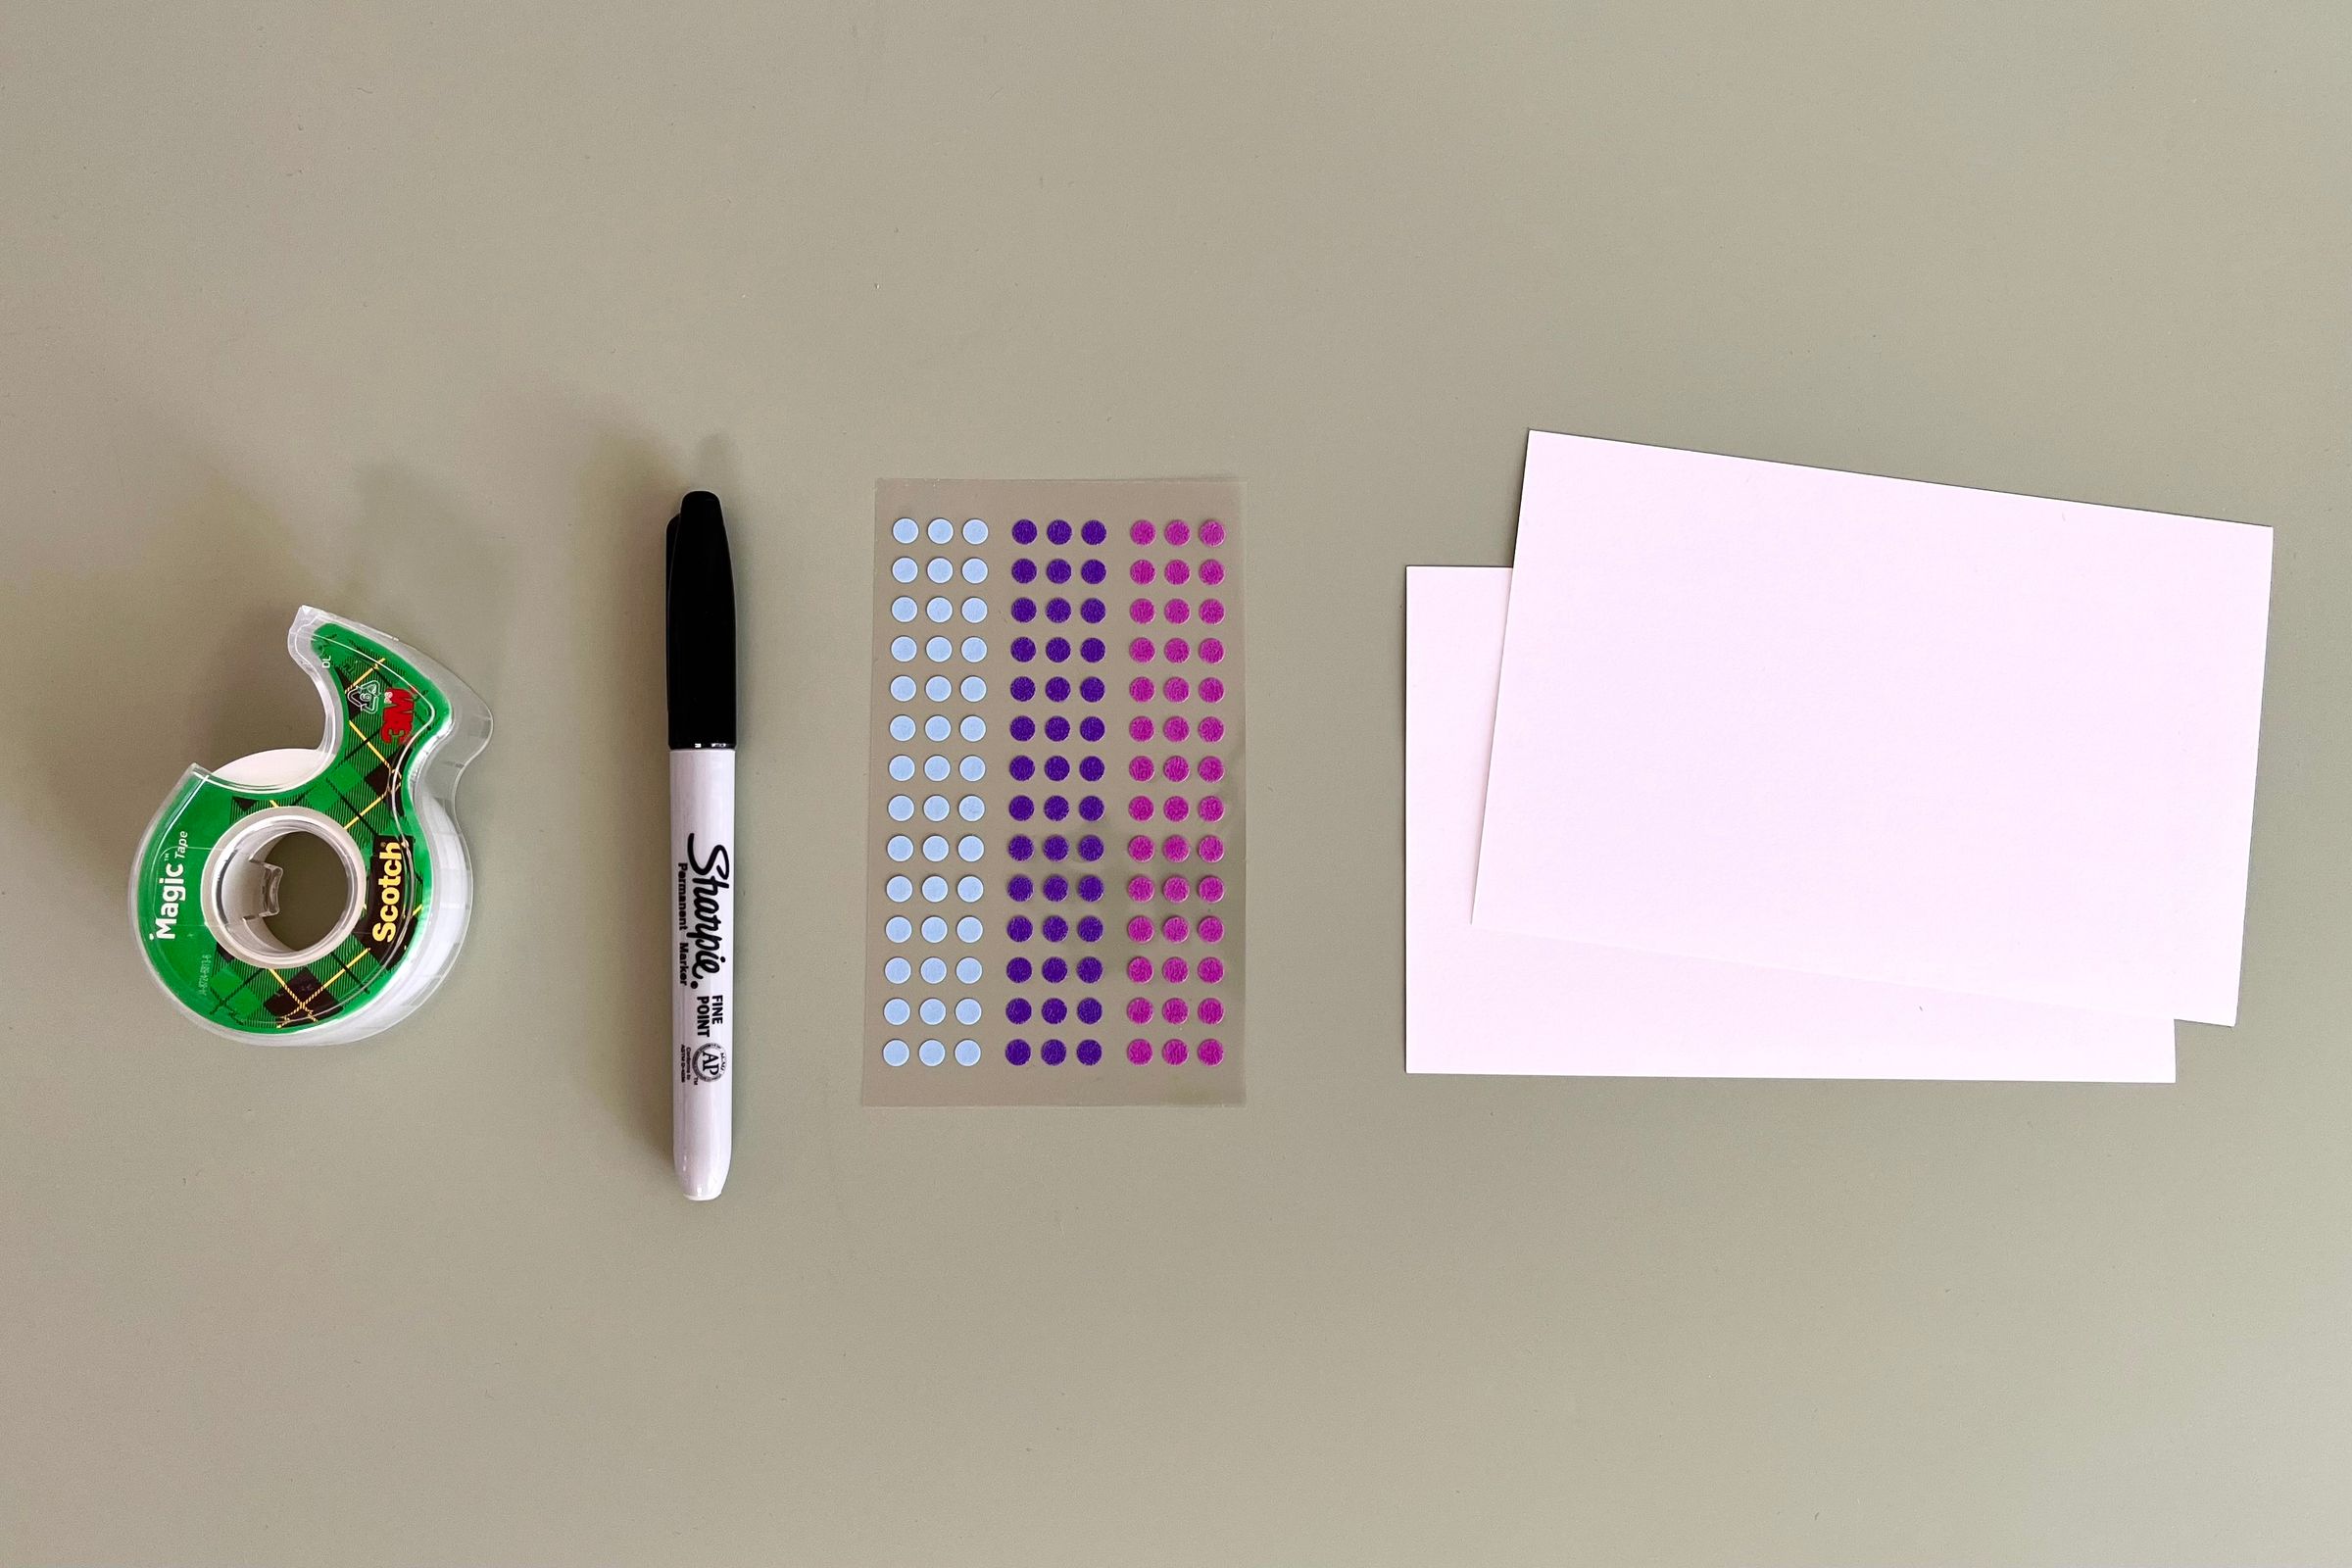
To run a design studio in person, all you need are basic office supplies, including:
- Index cards: the ideal size is 4x6 inch (about 10x15 cm). Prepare 2-3 per participant.
- Markers: Sharpies or thick pens. Prepare 1 per participant.
- A roll of tape
- Stickers (optional): small dot stickers are the best. Prepare 3-6 per participant.
In addition, book a space with a whiteboard, wall, window, or another large vertical surface where you can put tape on.
Steps
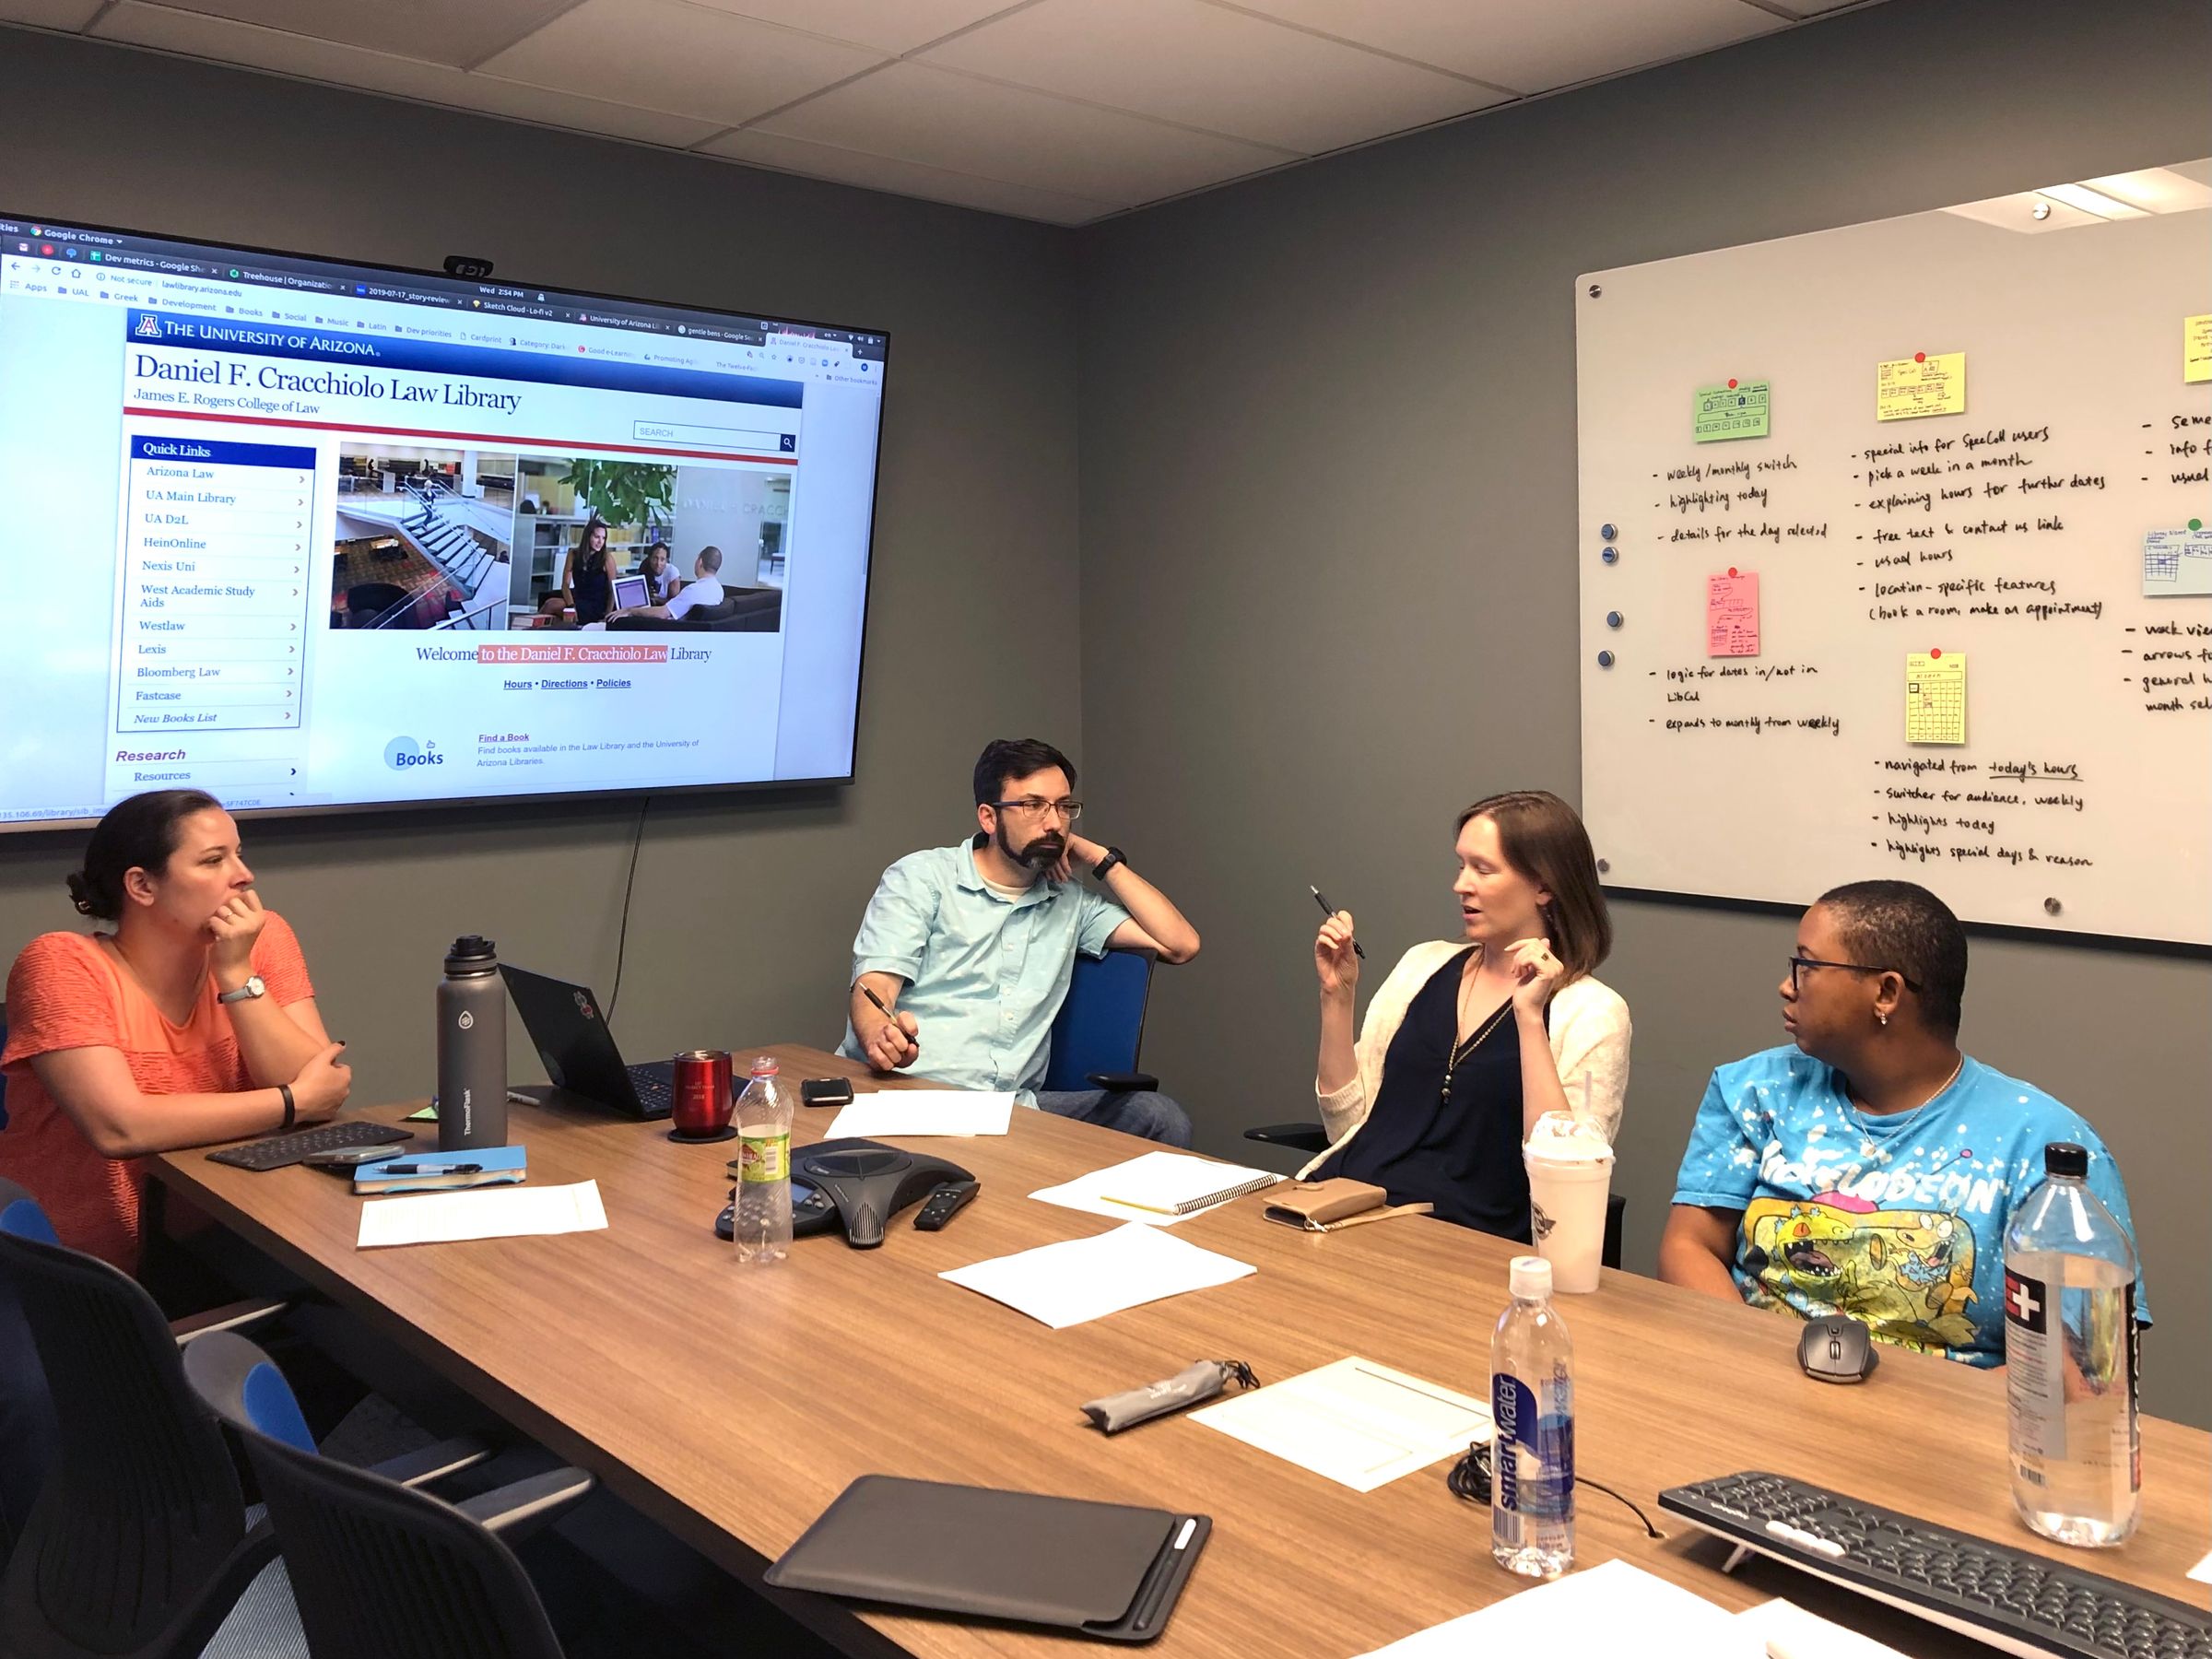
The design studio is a 5-step process that takes about an hour. Everyone, including the facilitator, should participate in all steps. Participants should be seated around tables. Consider breaking bigger groups down into several small ones. If possible, provide refreshments.
Step 1: intro
The facilitator introduces the workshop and shares context of the project. Participants go around the table for intros as the facilitator hands out workshop supplies.
Step 2: sketch
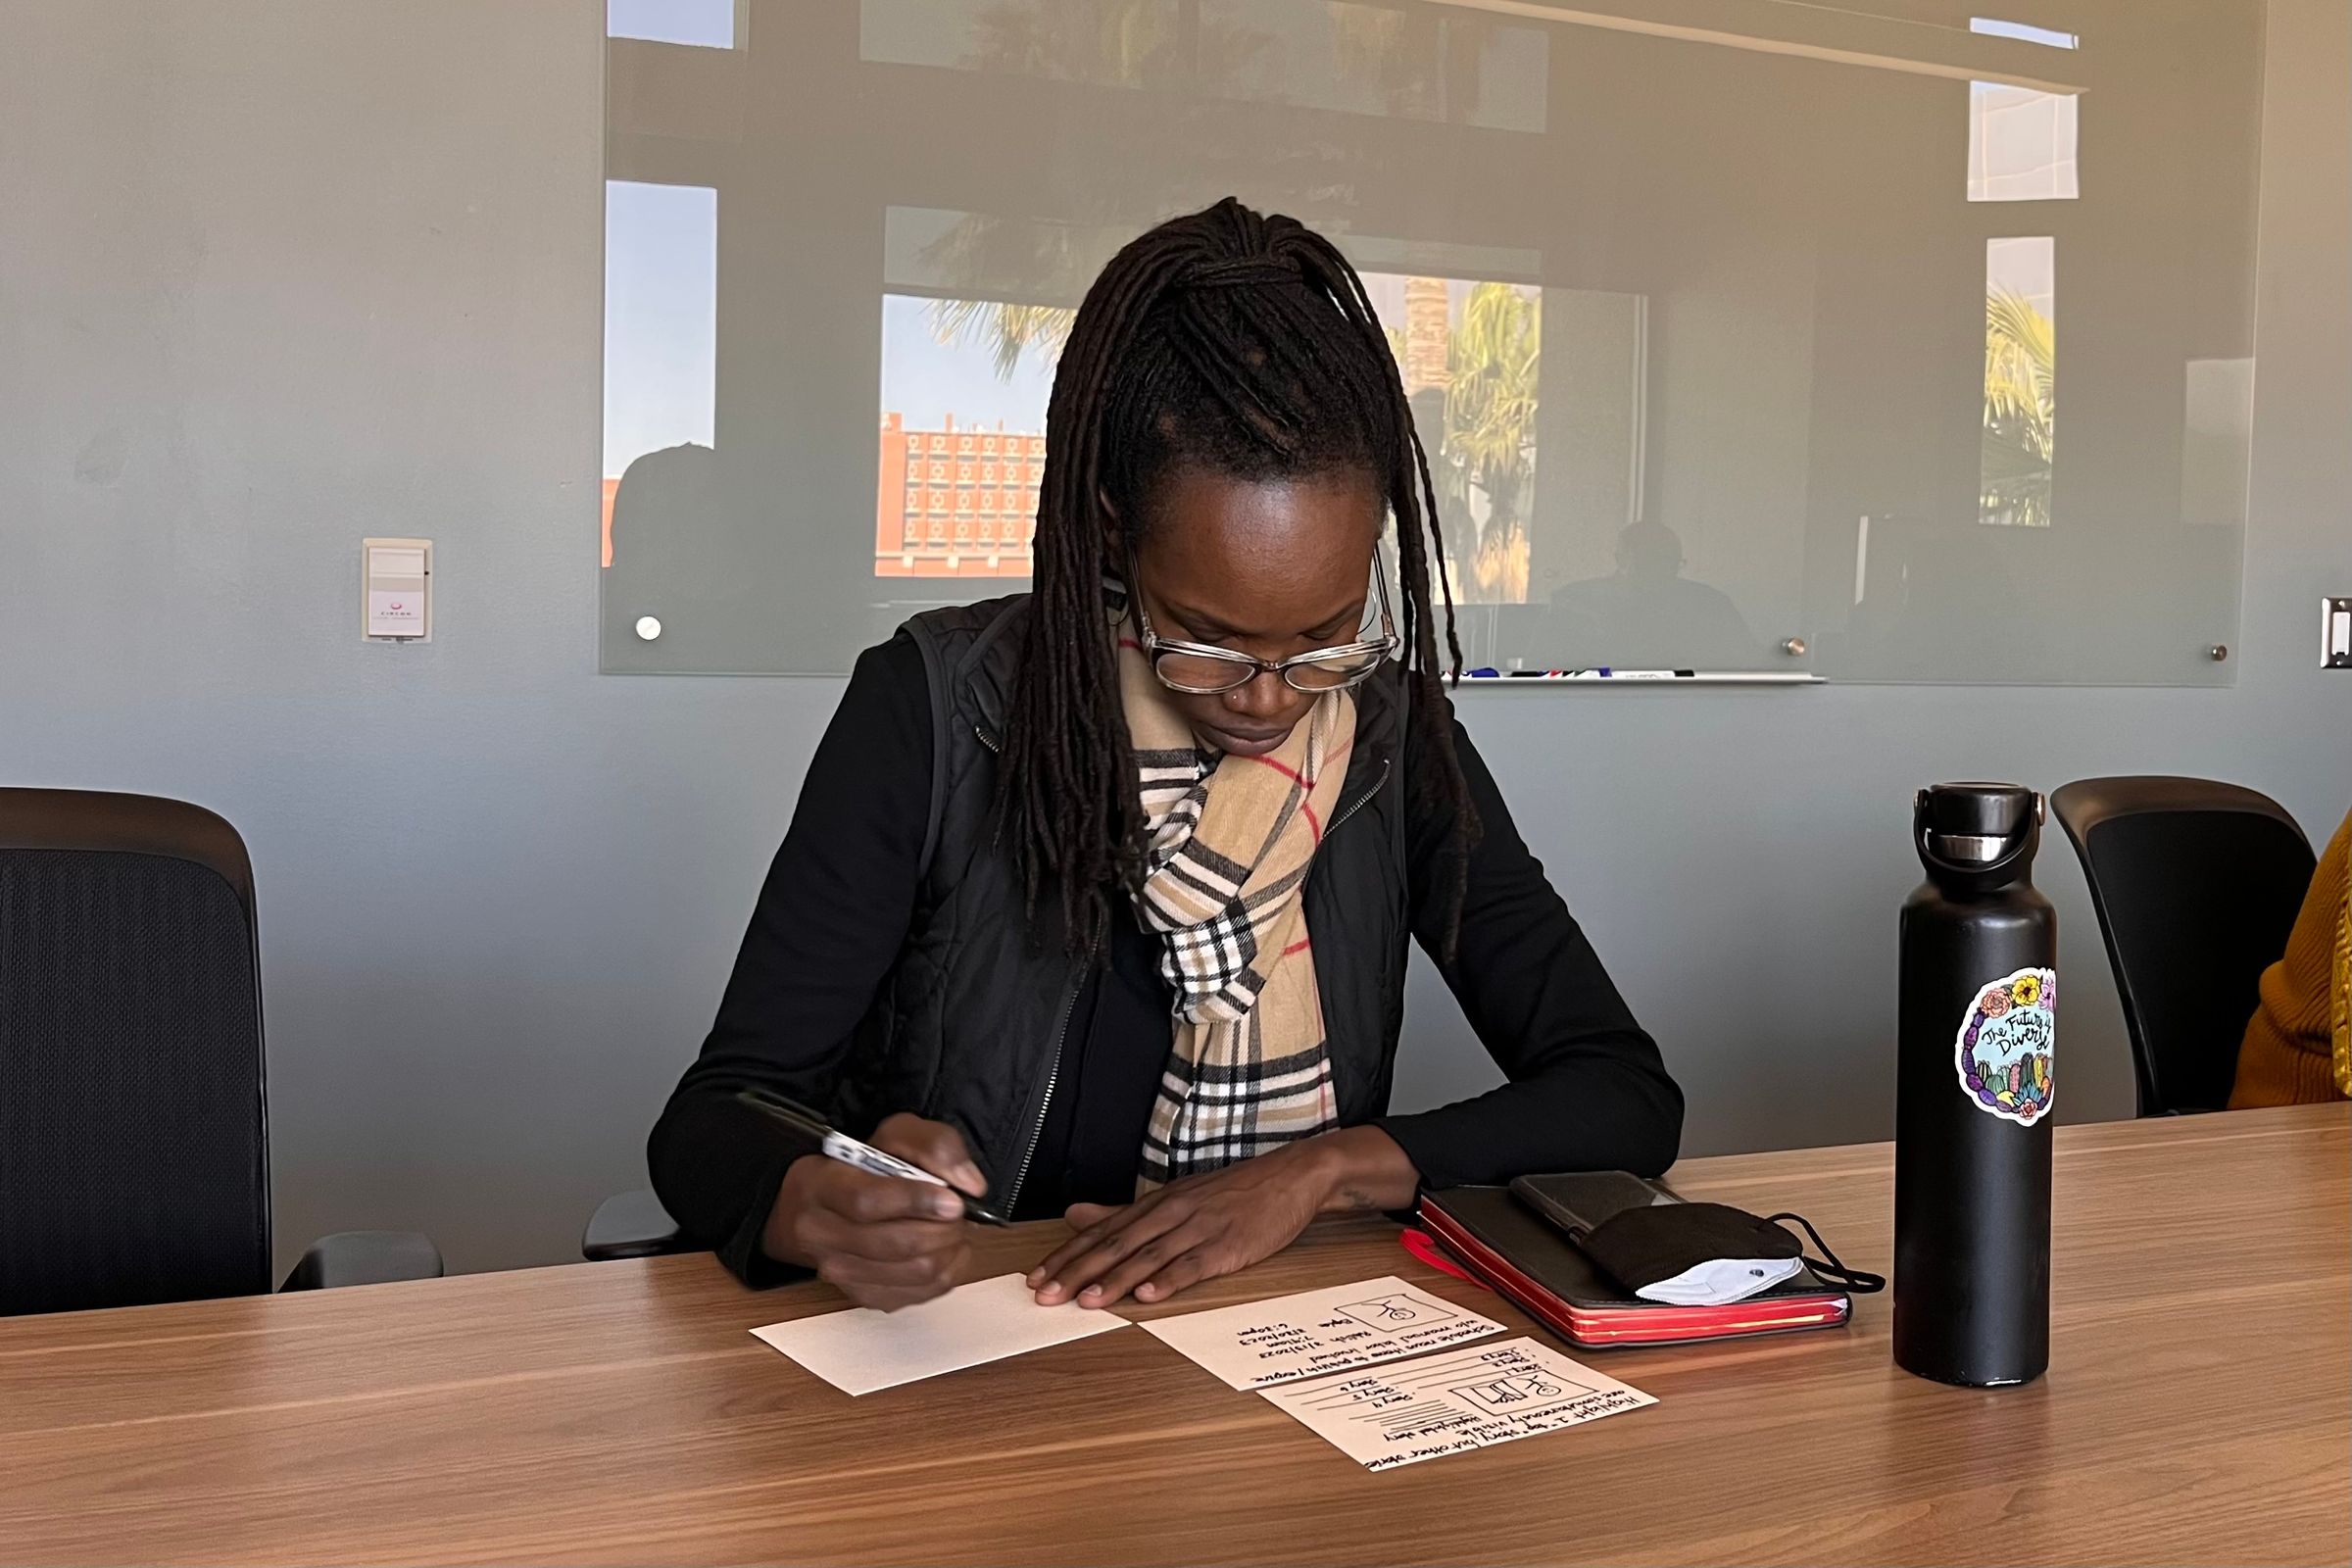
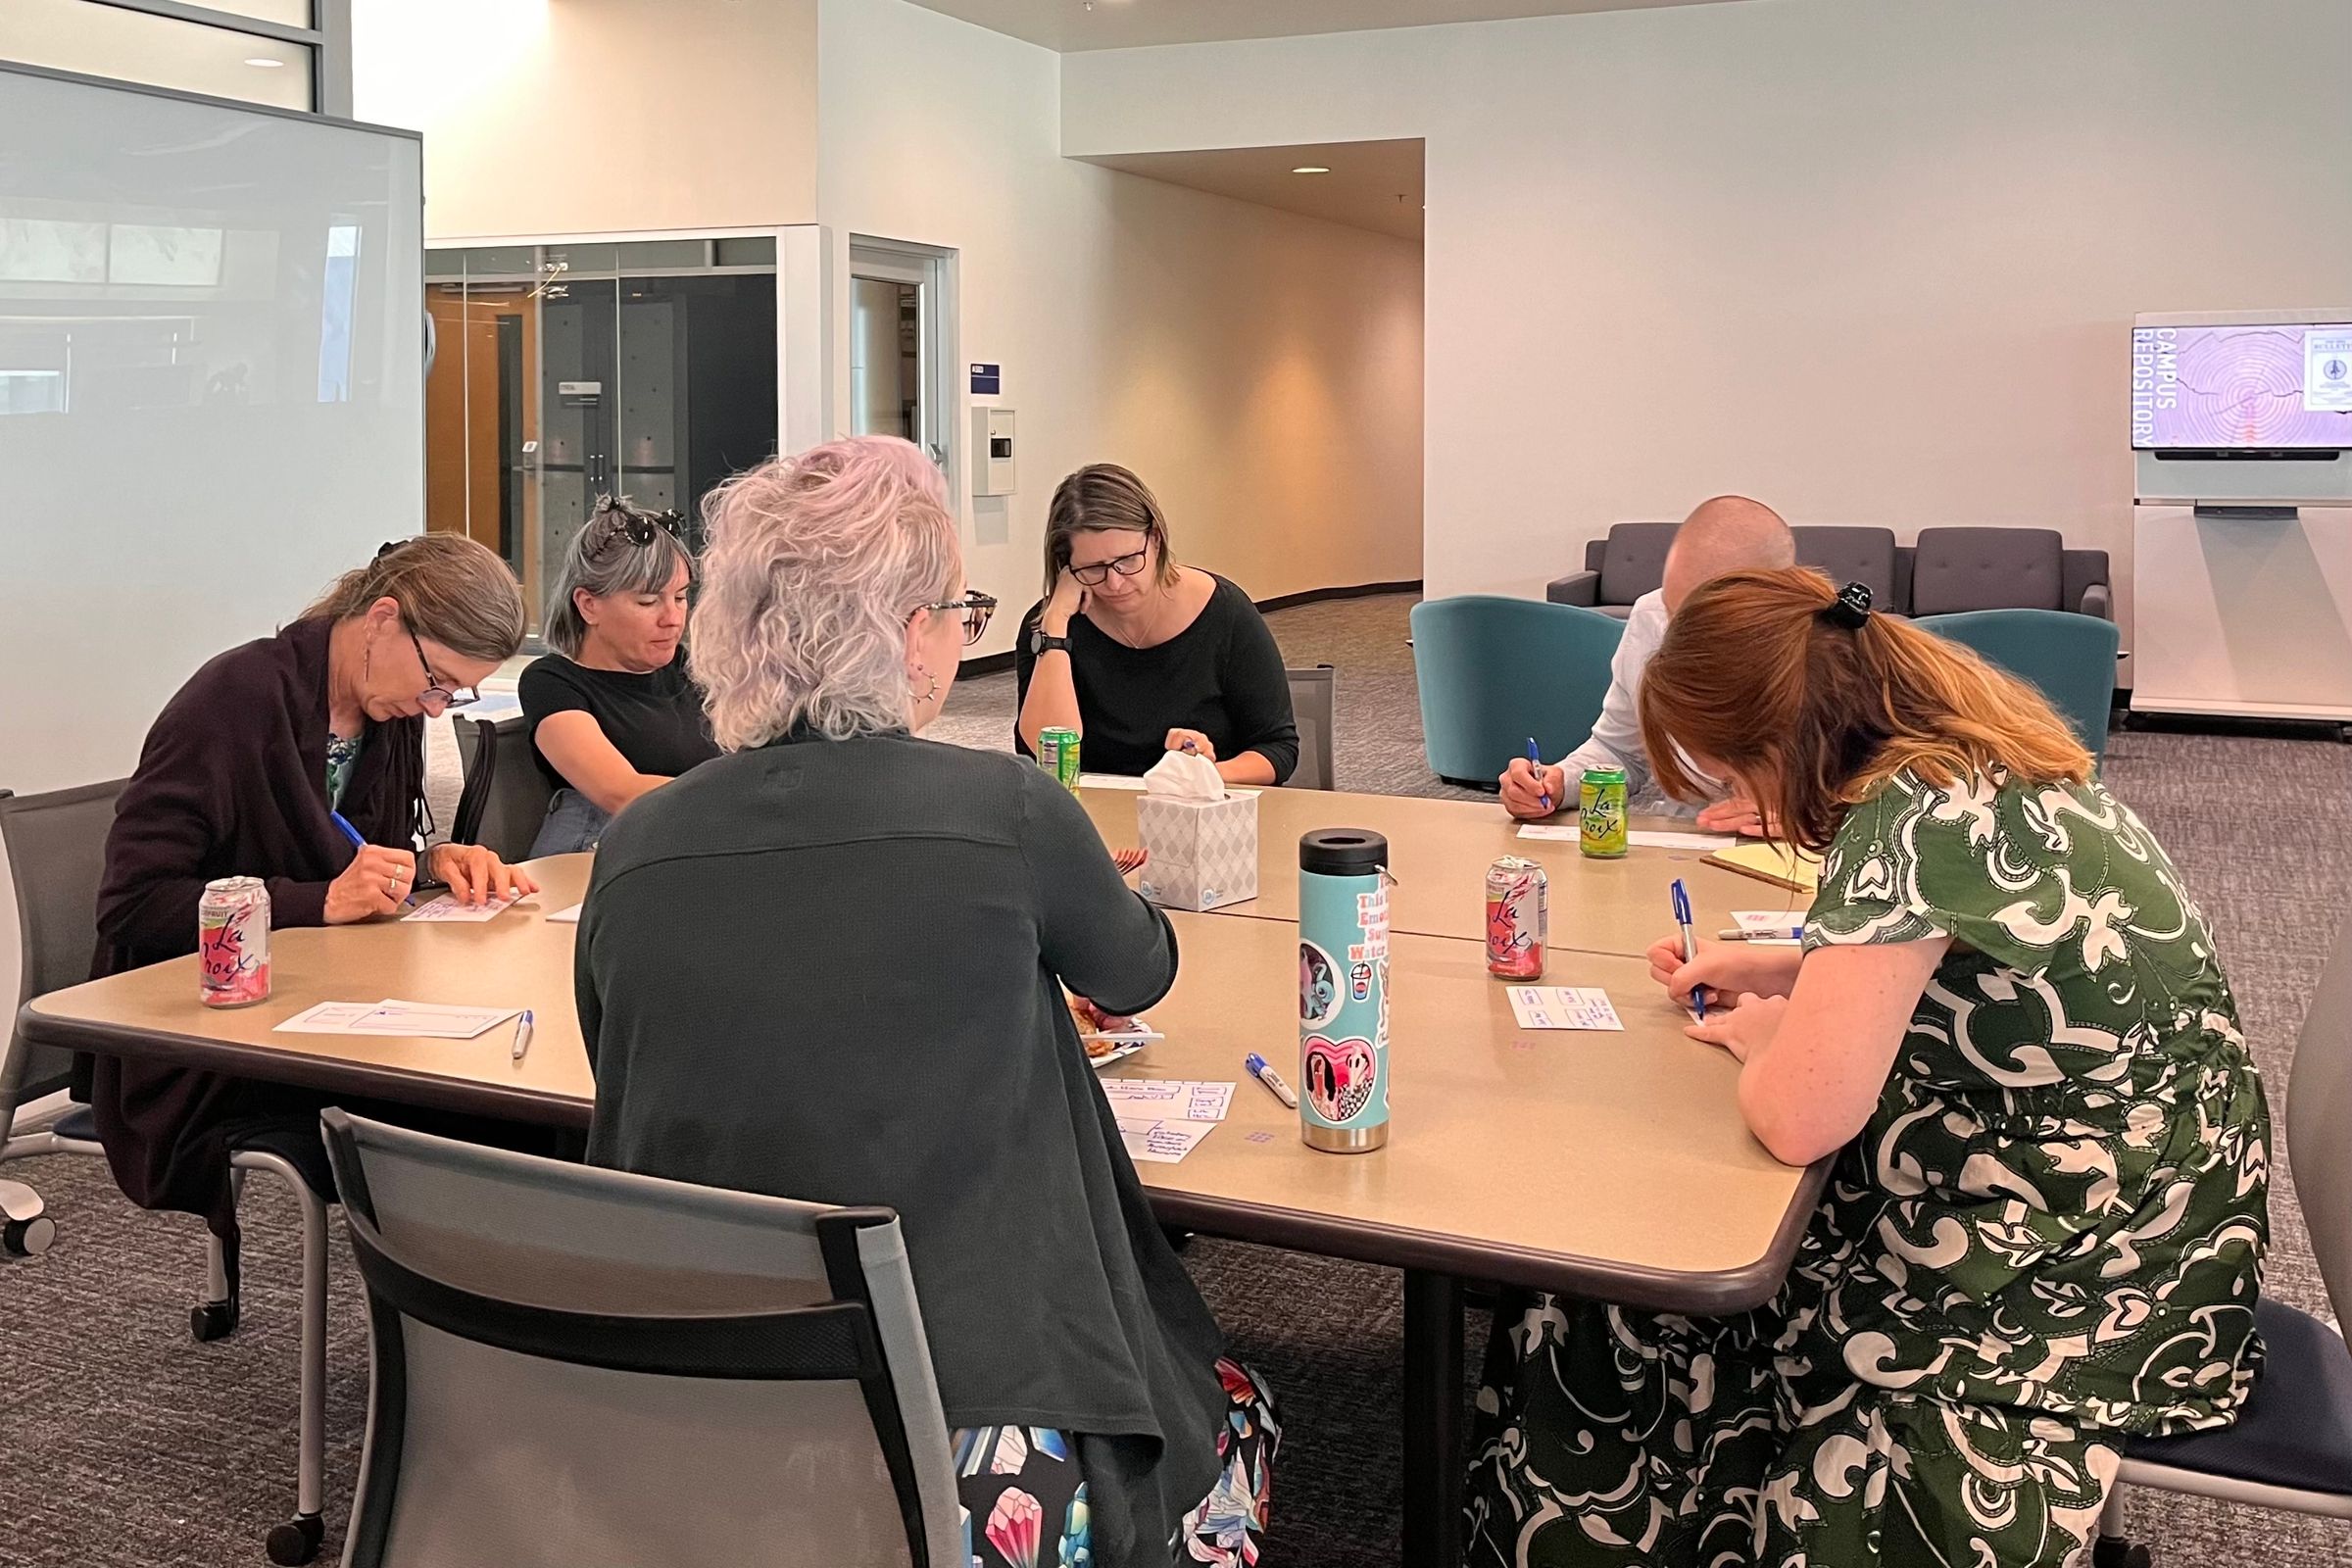
Each participant spends 5-7 minutes to sketch something they’d like to see in the final design. The scope doesn’t matter as long the idea fits on an index card. For example, they can draw something as small as a button and as big as the whole page. They can also choose to jot down their idea on the index card instead of sketching.
Keep in mind — the index card is a rather small canvas for a Sharpie. This is intentional as it forces the participant to focus on the features that matter the most to them. Follow these guidelines:
- The key stakeholders can choose to have three index cards while others have two.
- Draw or write down only one idea per index card.
- Use only one side of the card.
- Do not tape two cards together to make a bigger card.
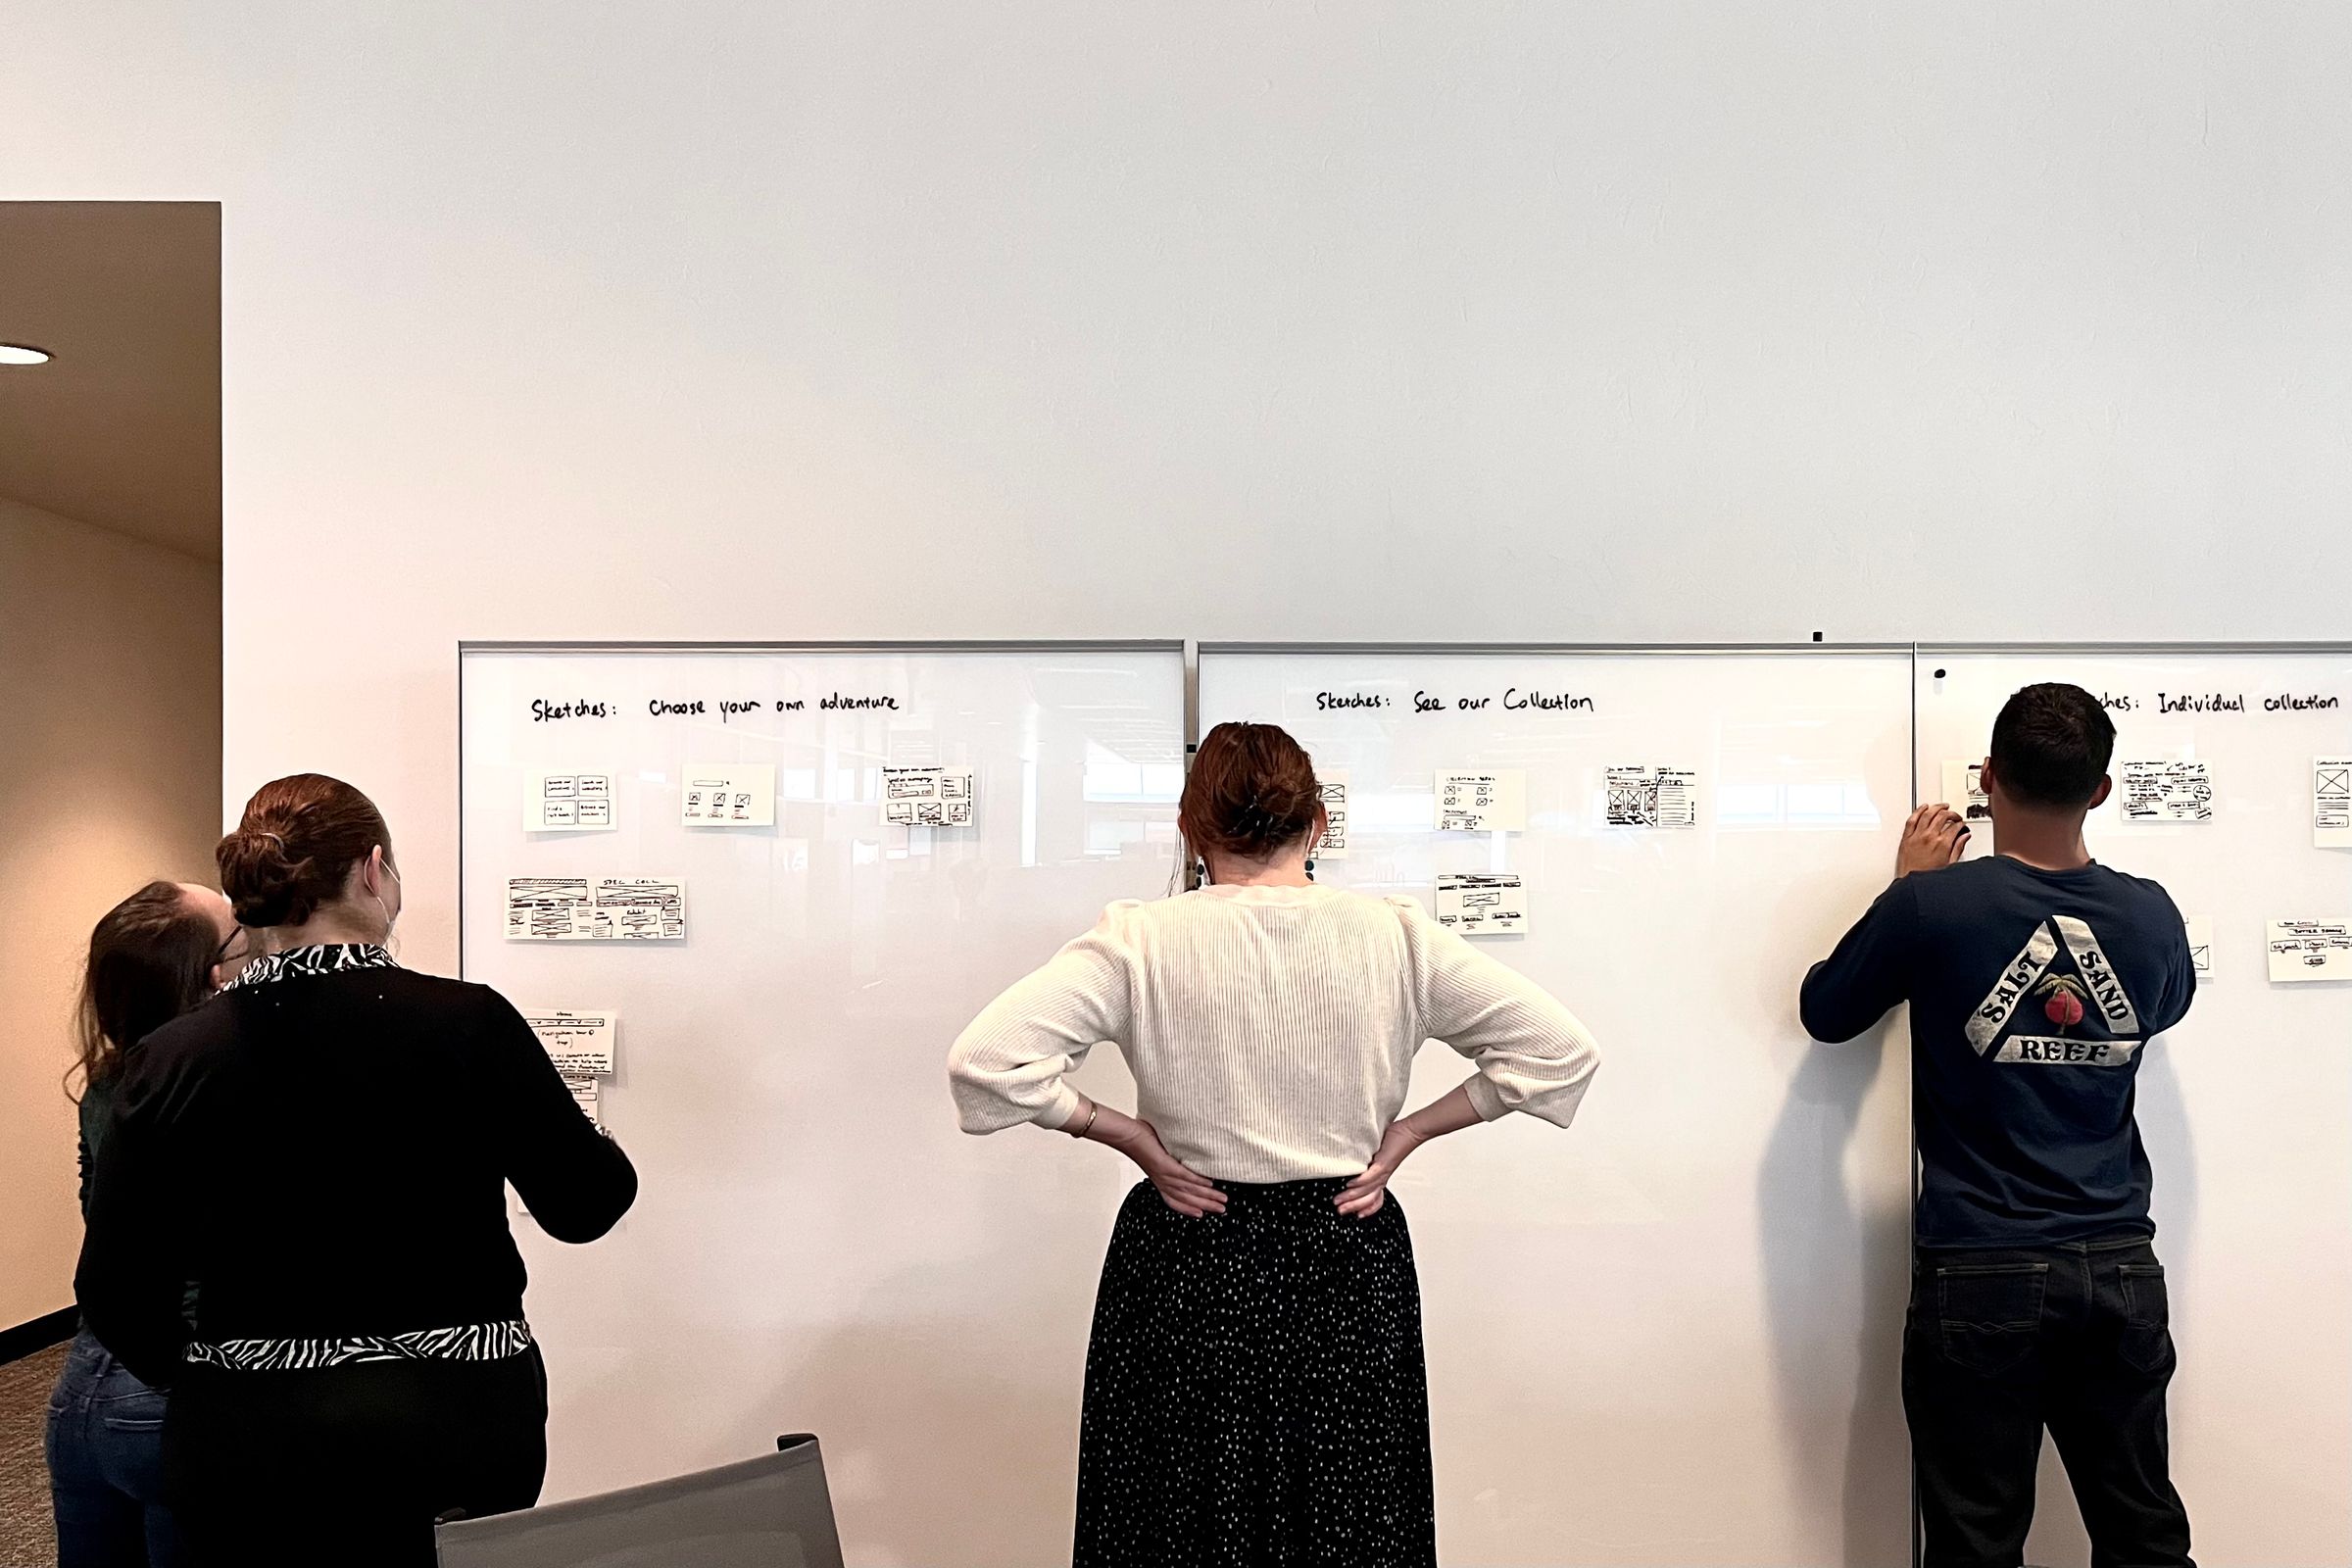
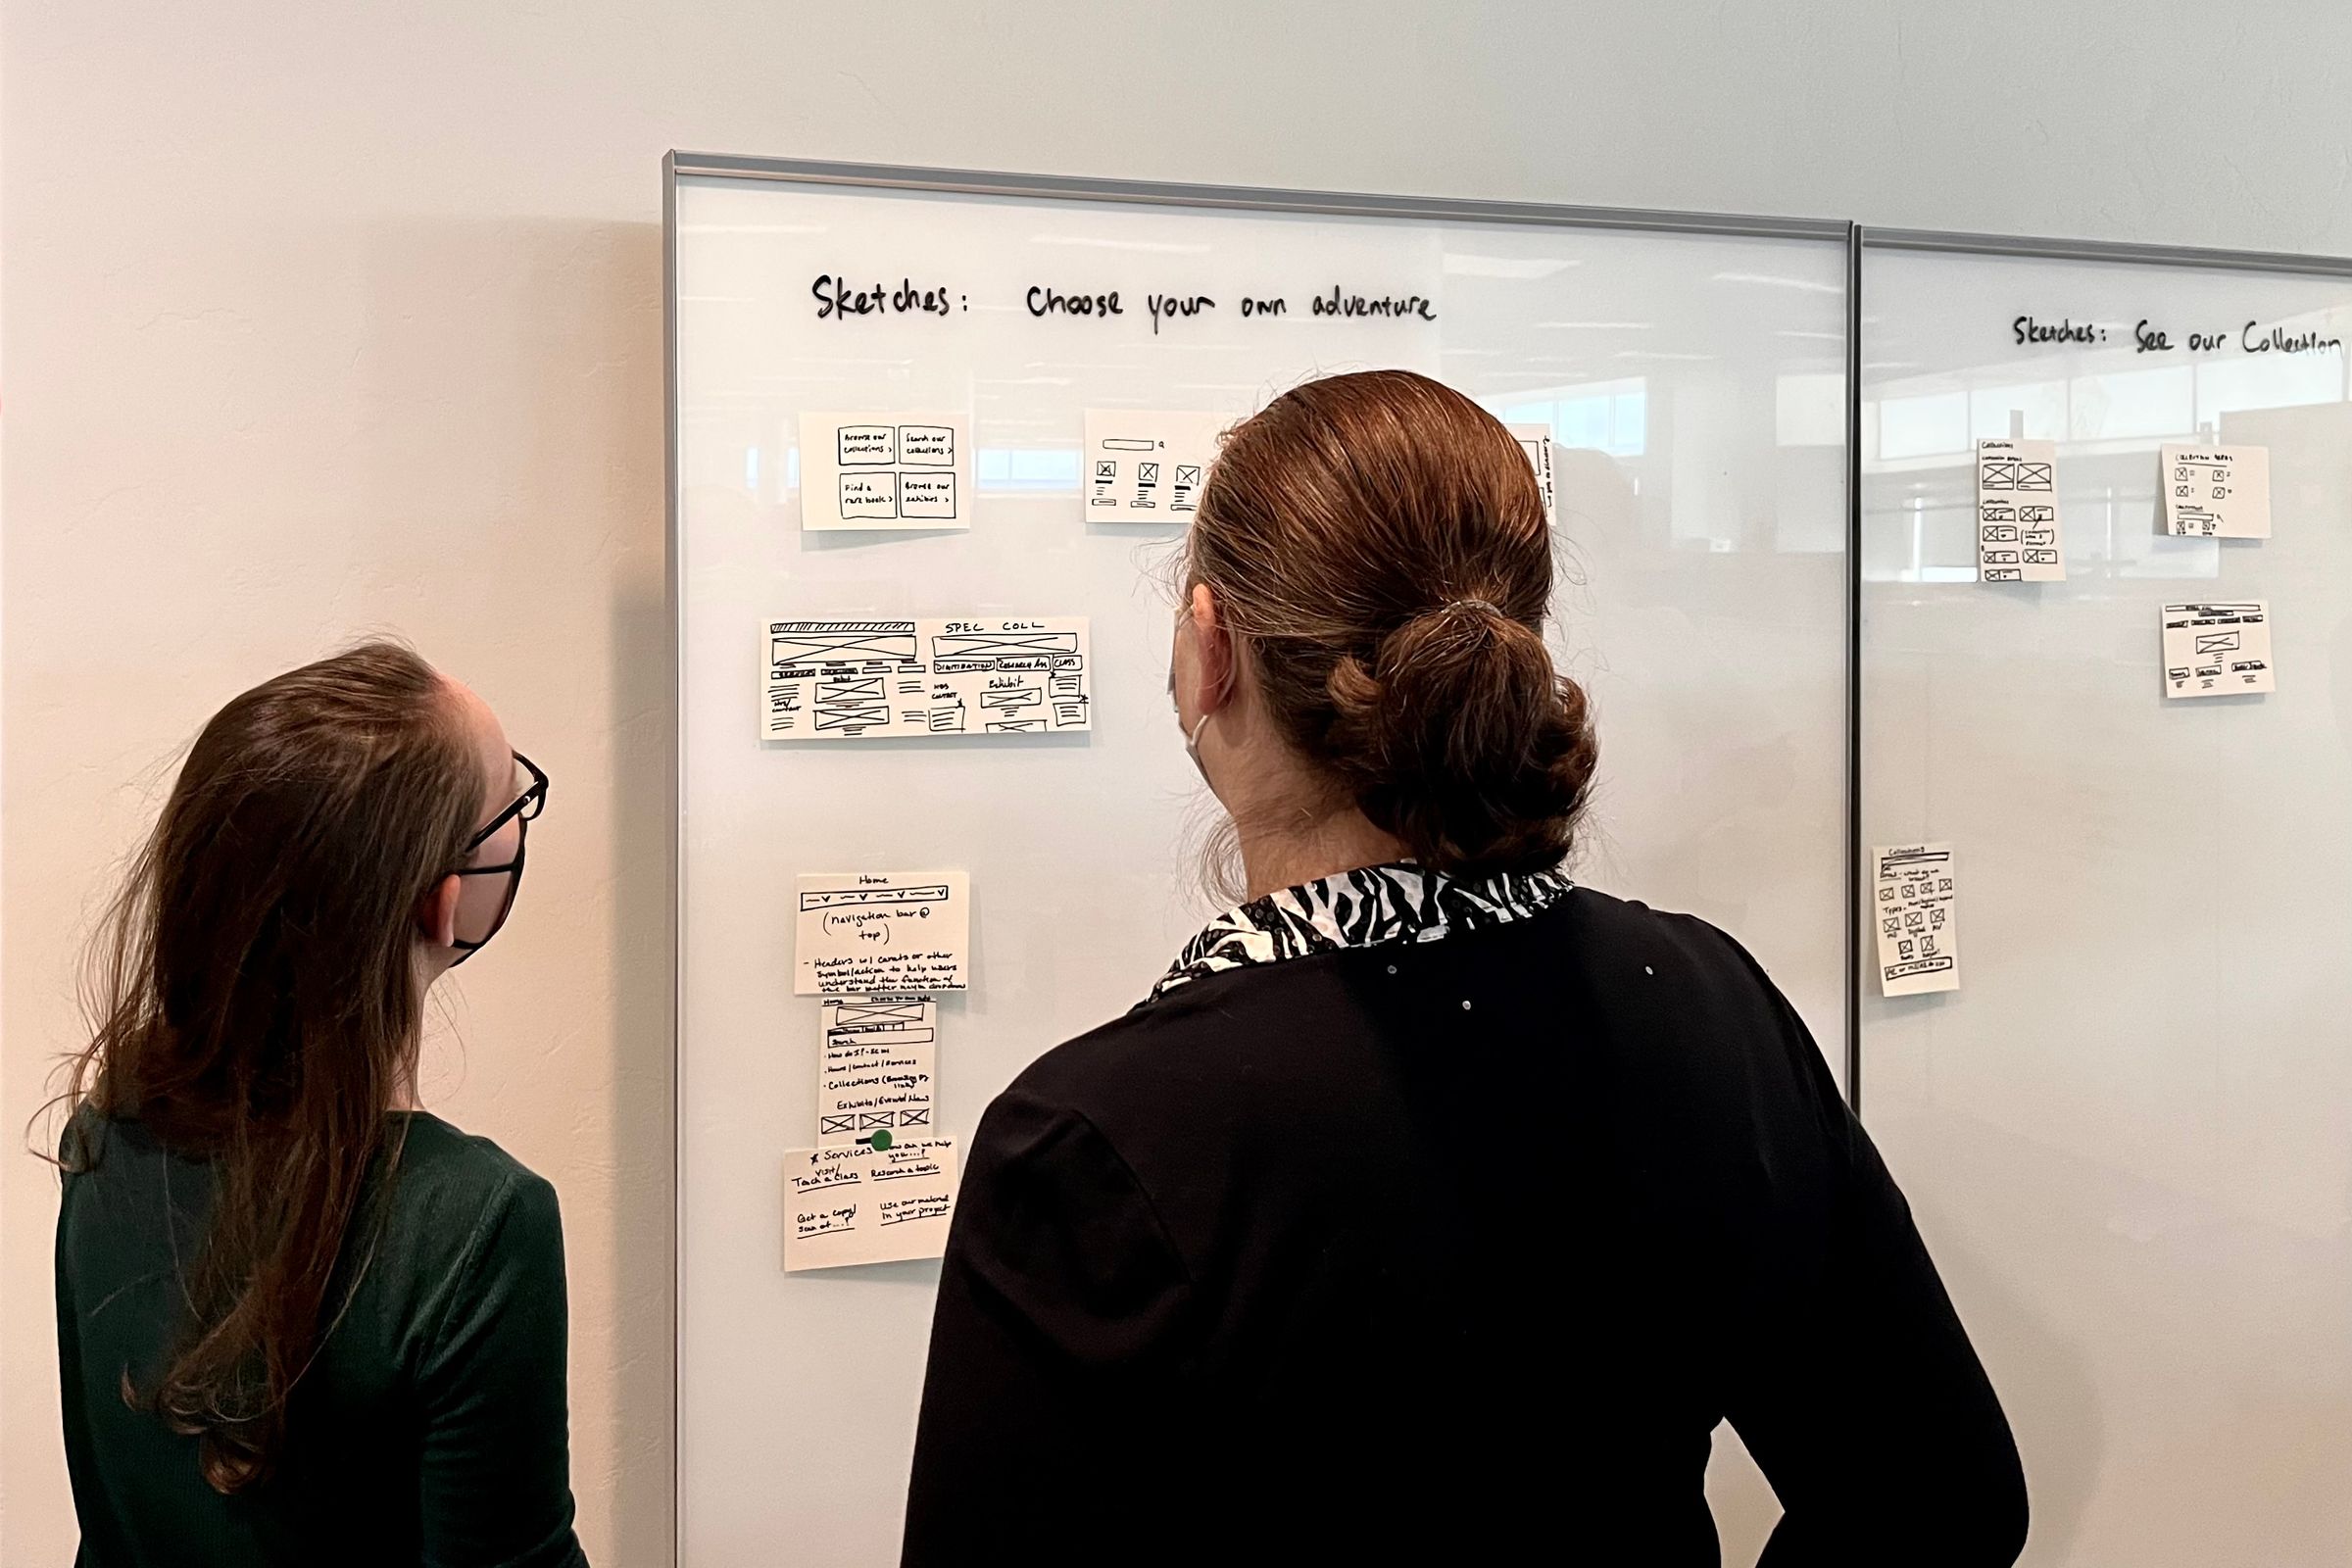
Once done, ask the participants to tape their sketches to the whiteboard.
Step 3: gallery walk
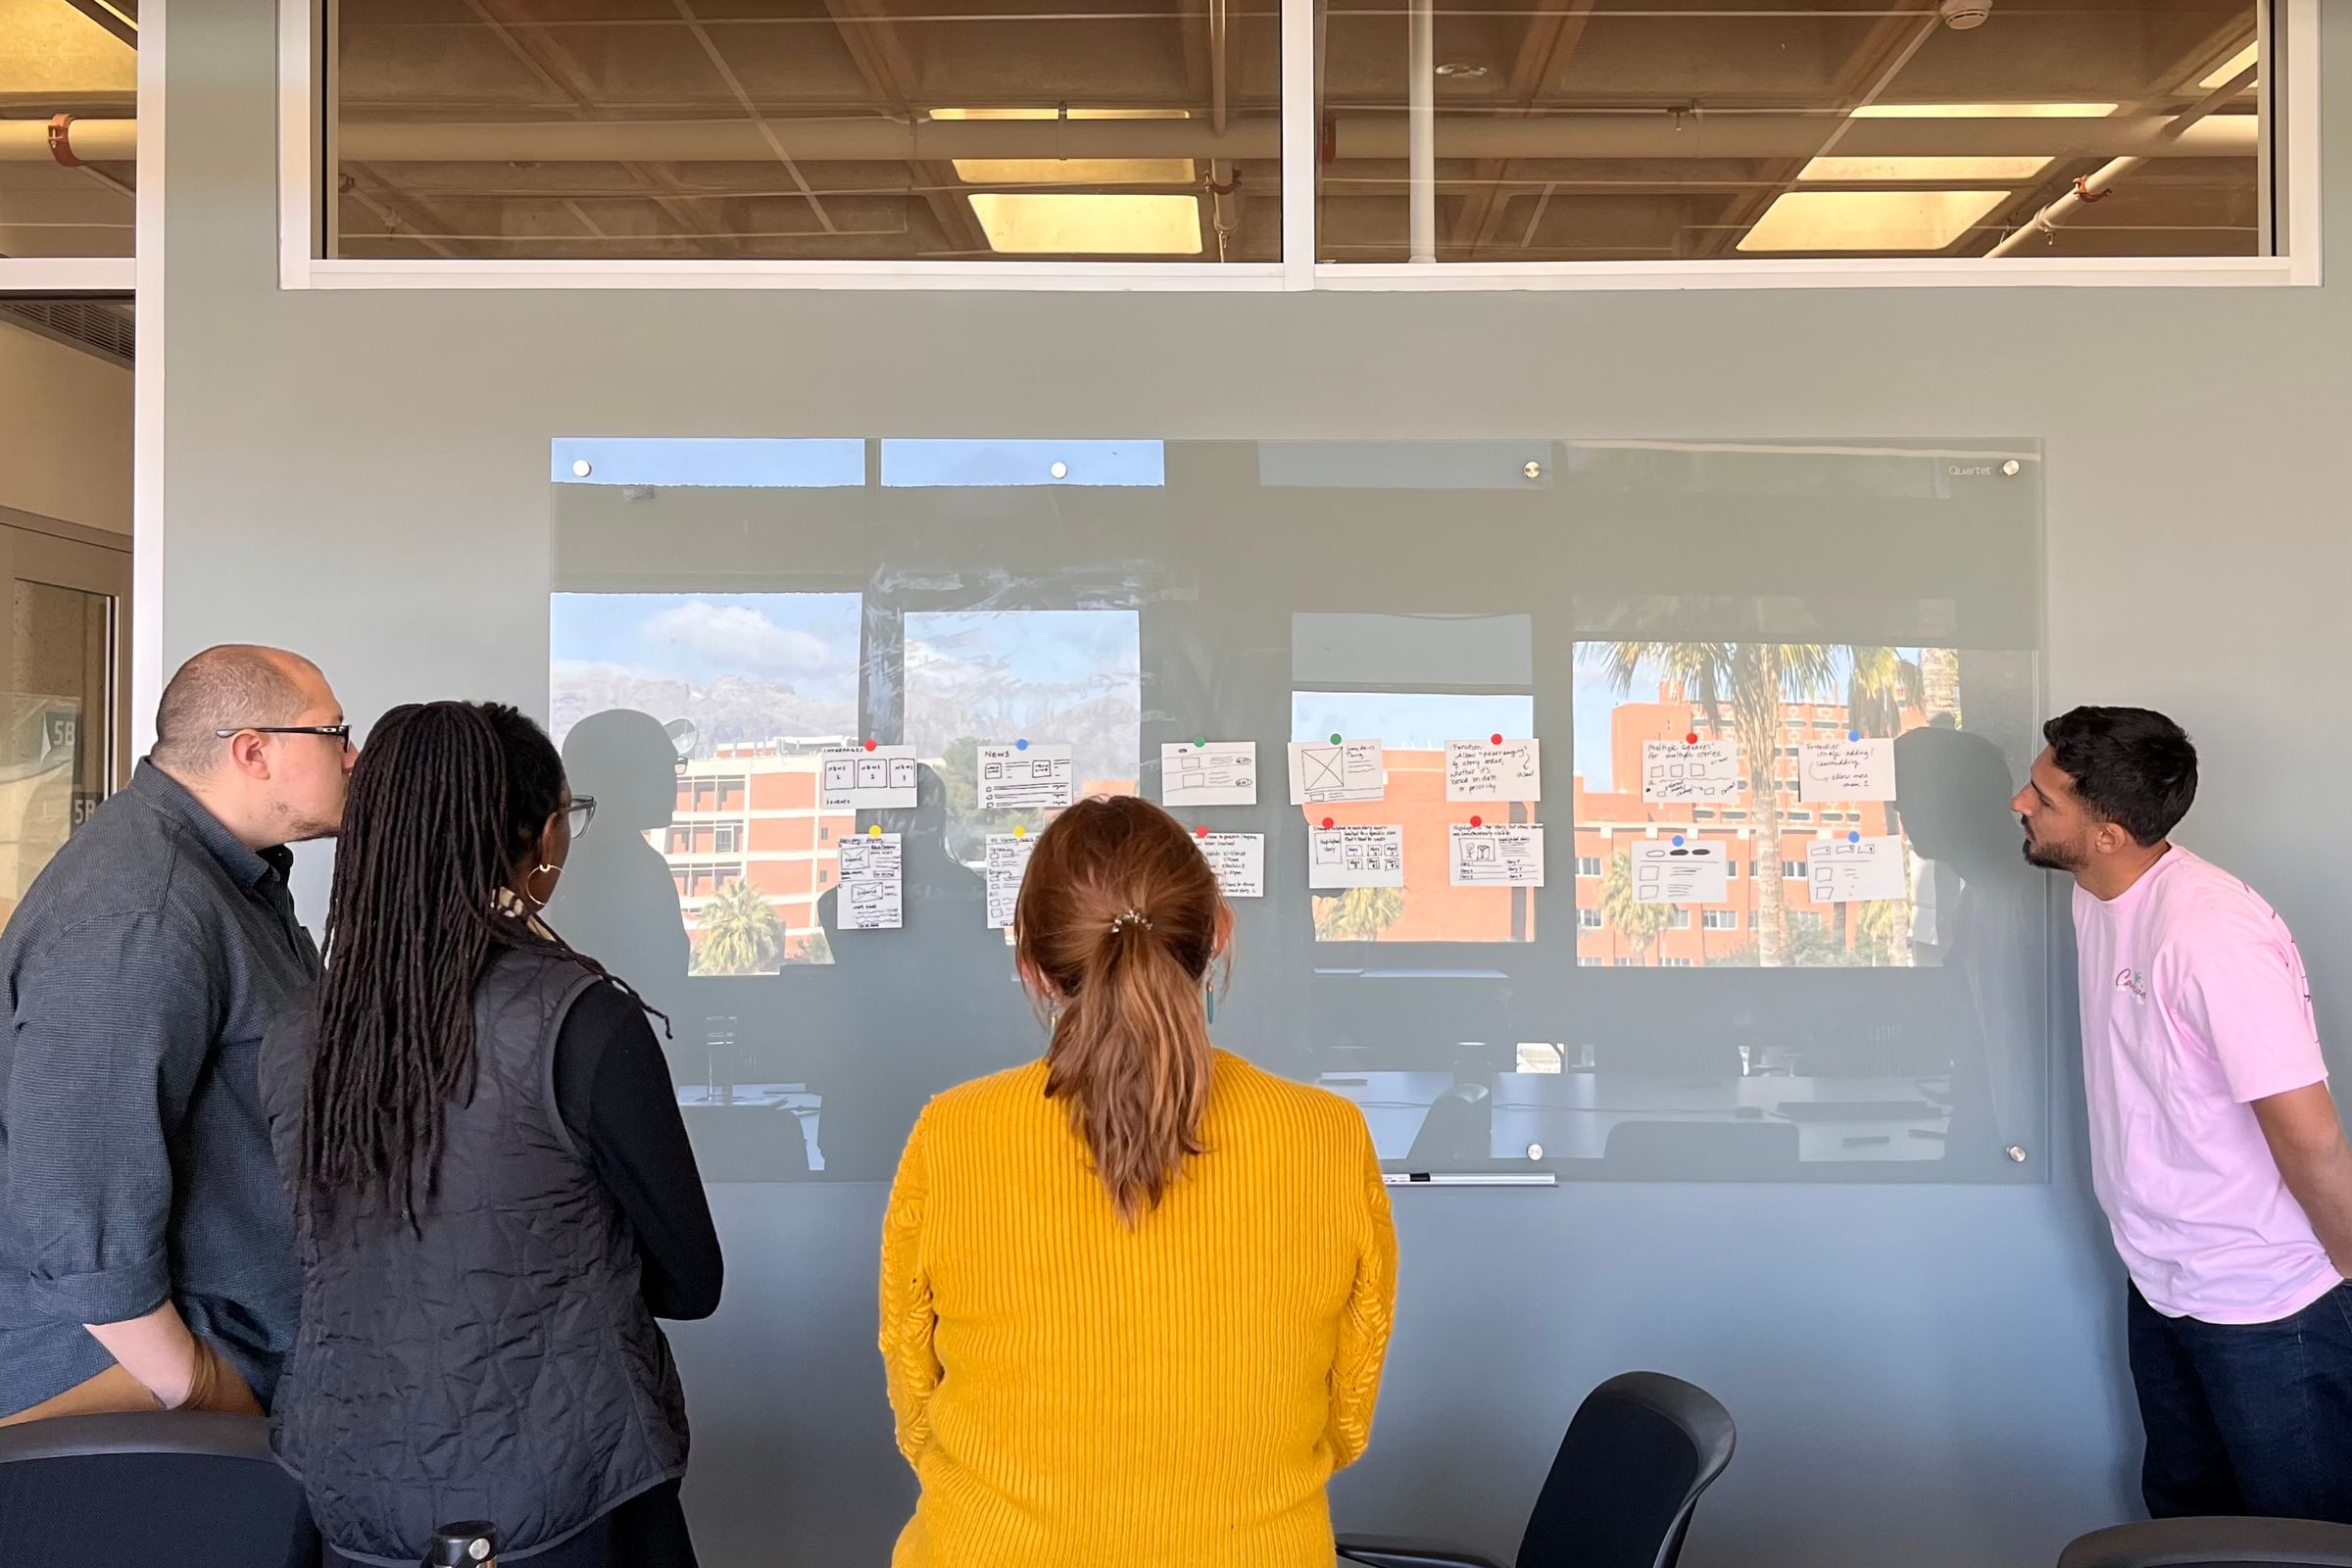
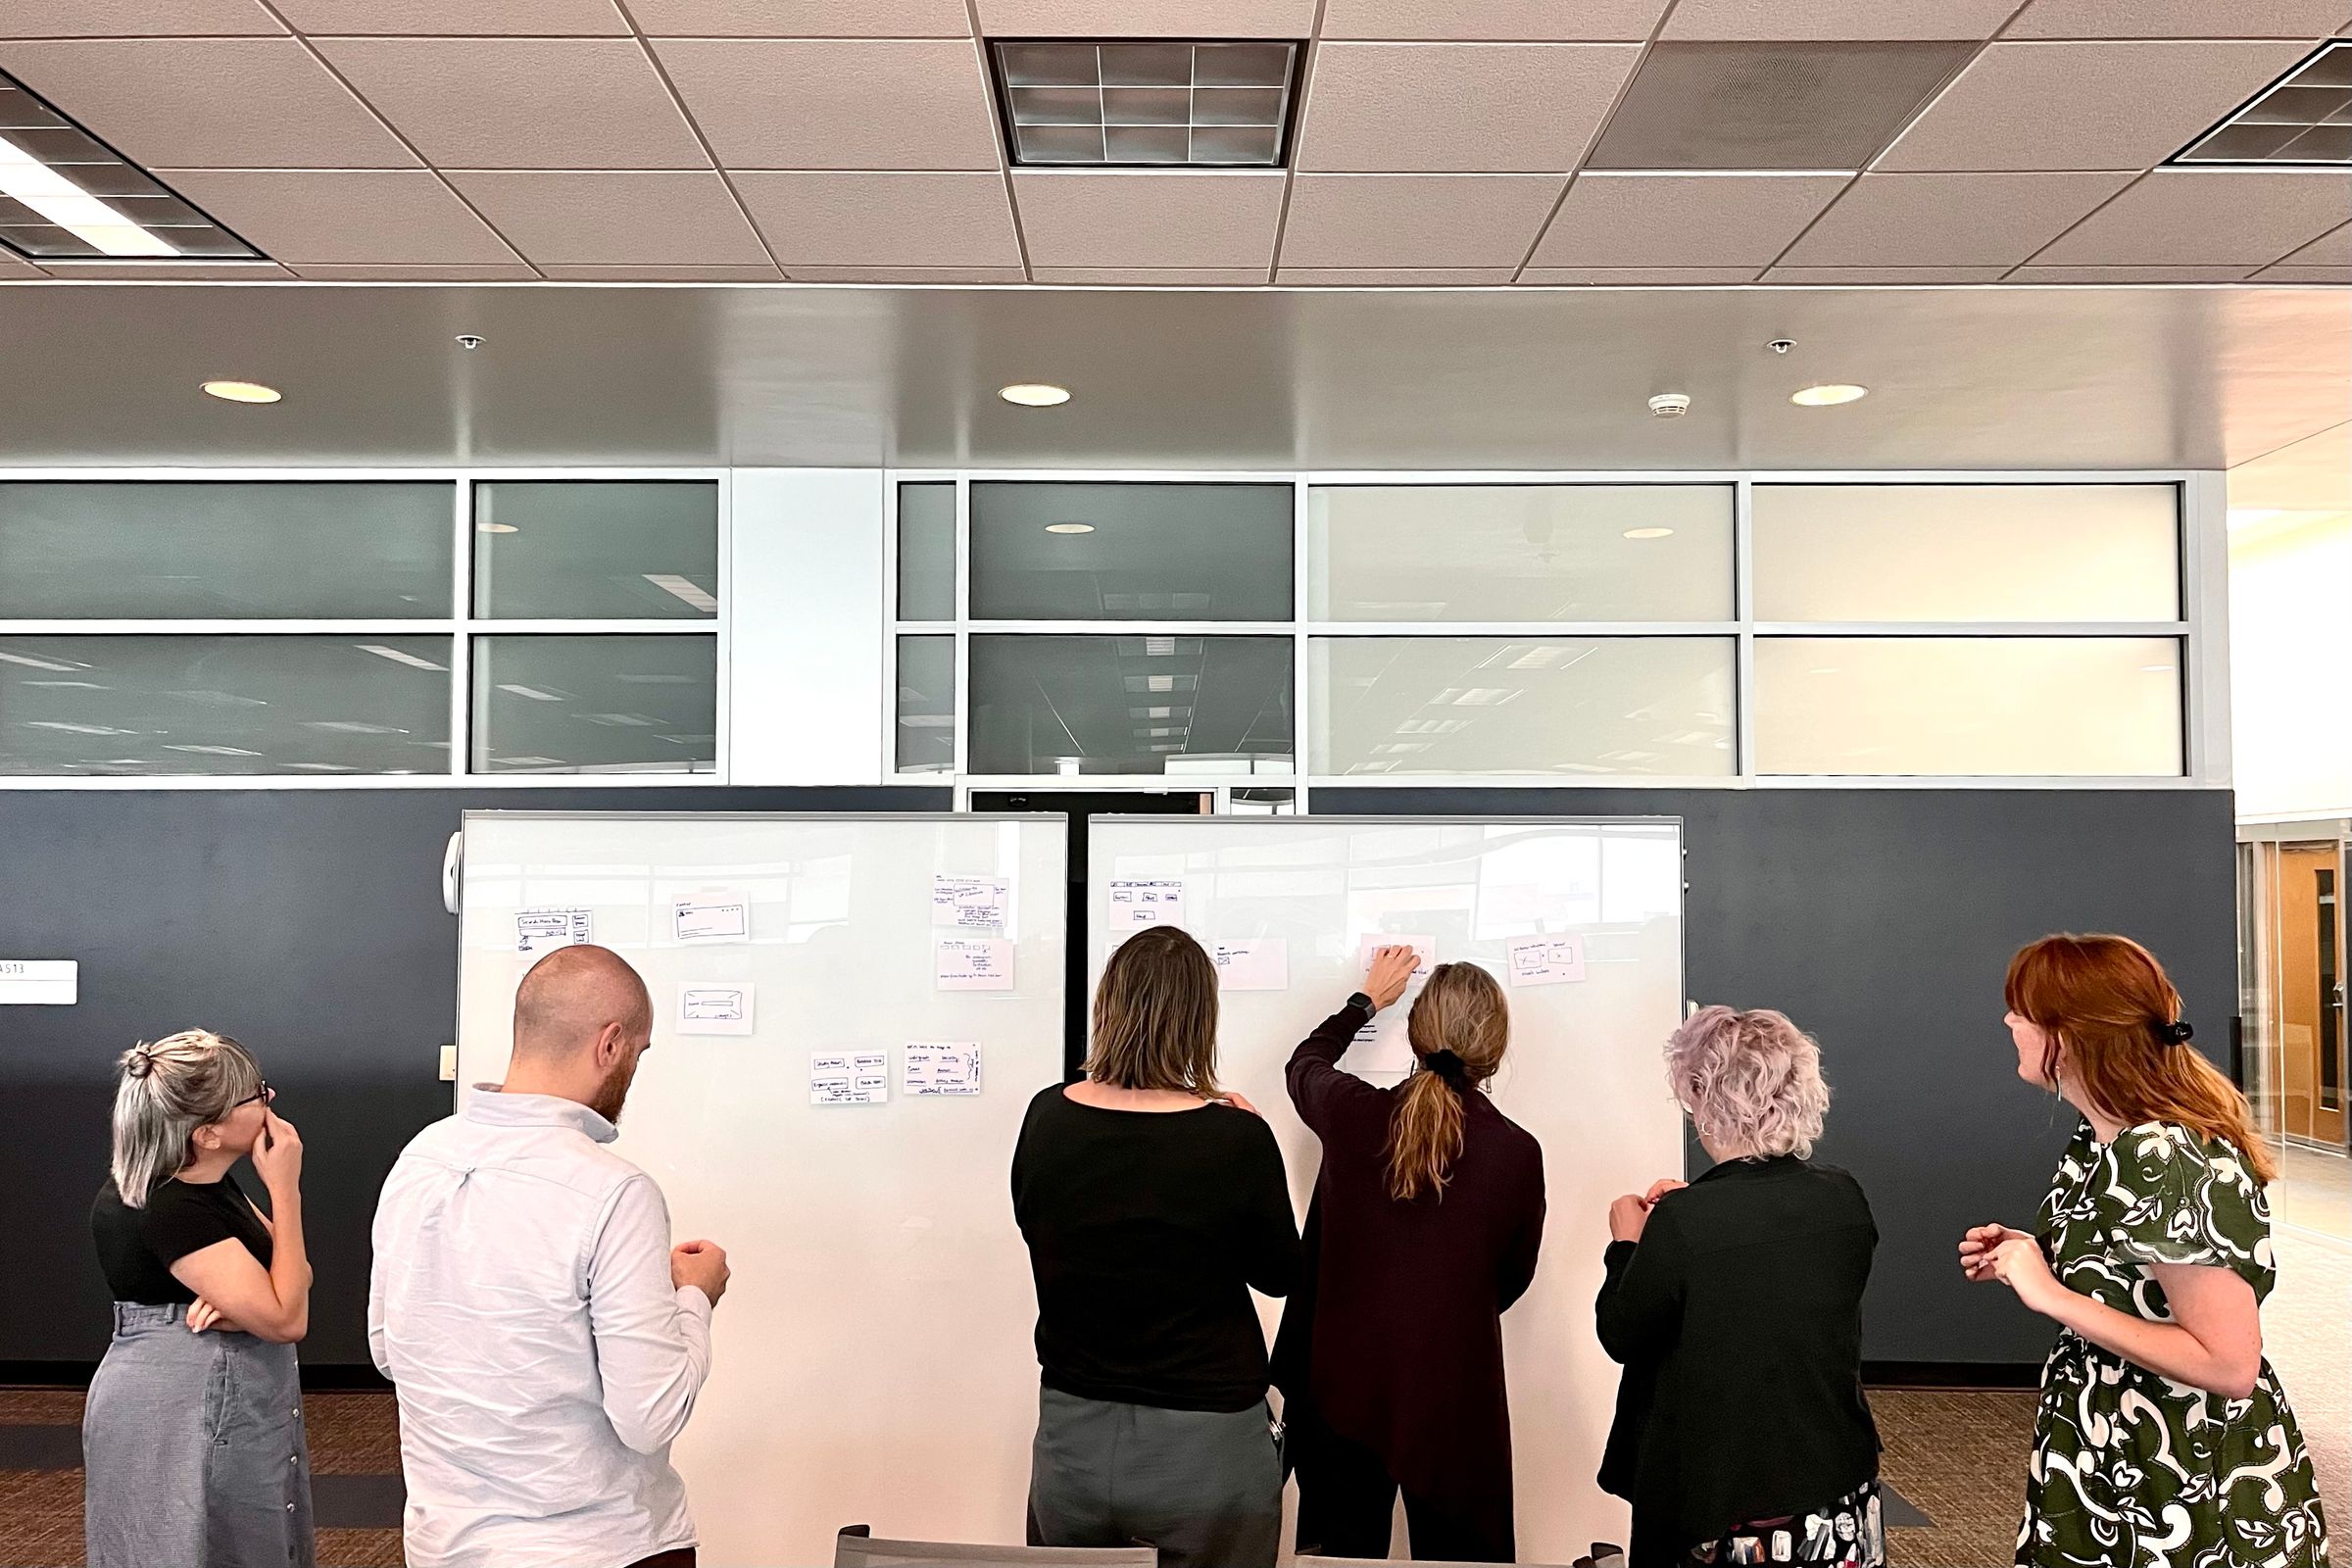
Once everyone’s done sketching, participants walk closer to the whiteboard to review others’ work. They can put dot stickers on sketches they like, agree with, or are interested in.
Step 4: share
Participants take turns to share what they sketched with the group. Others can ask clarifying questions. The facilitator takes notes of features or patterns they noticed.
As the participants continue to share their sketches, the facilitator should call out any repeated designs. This helps reinforce the shared goal and build consensus for the group.
Step 5: recap
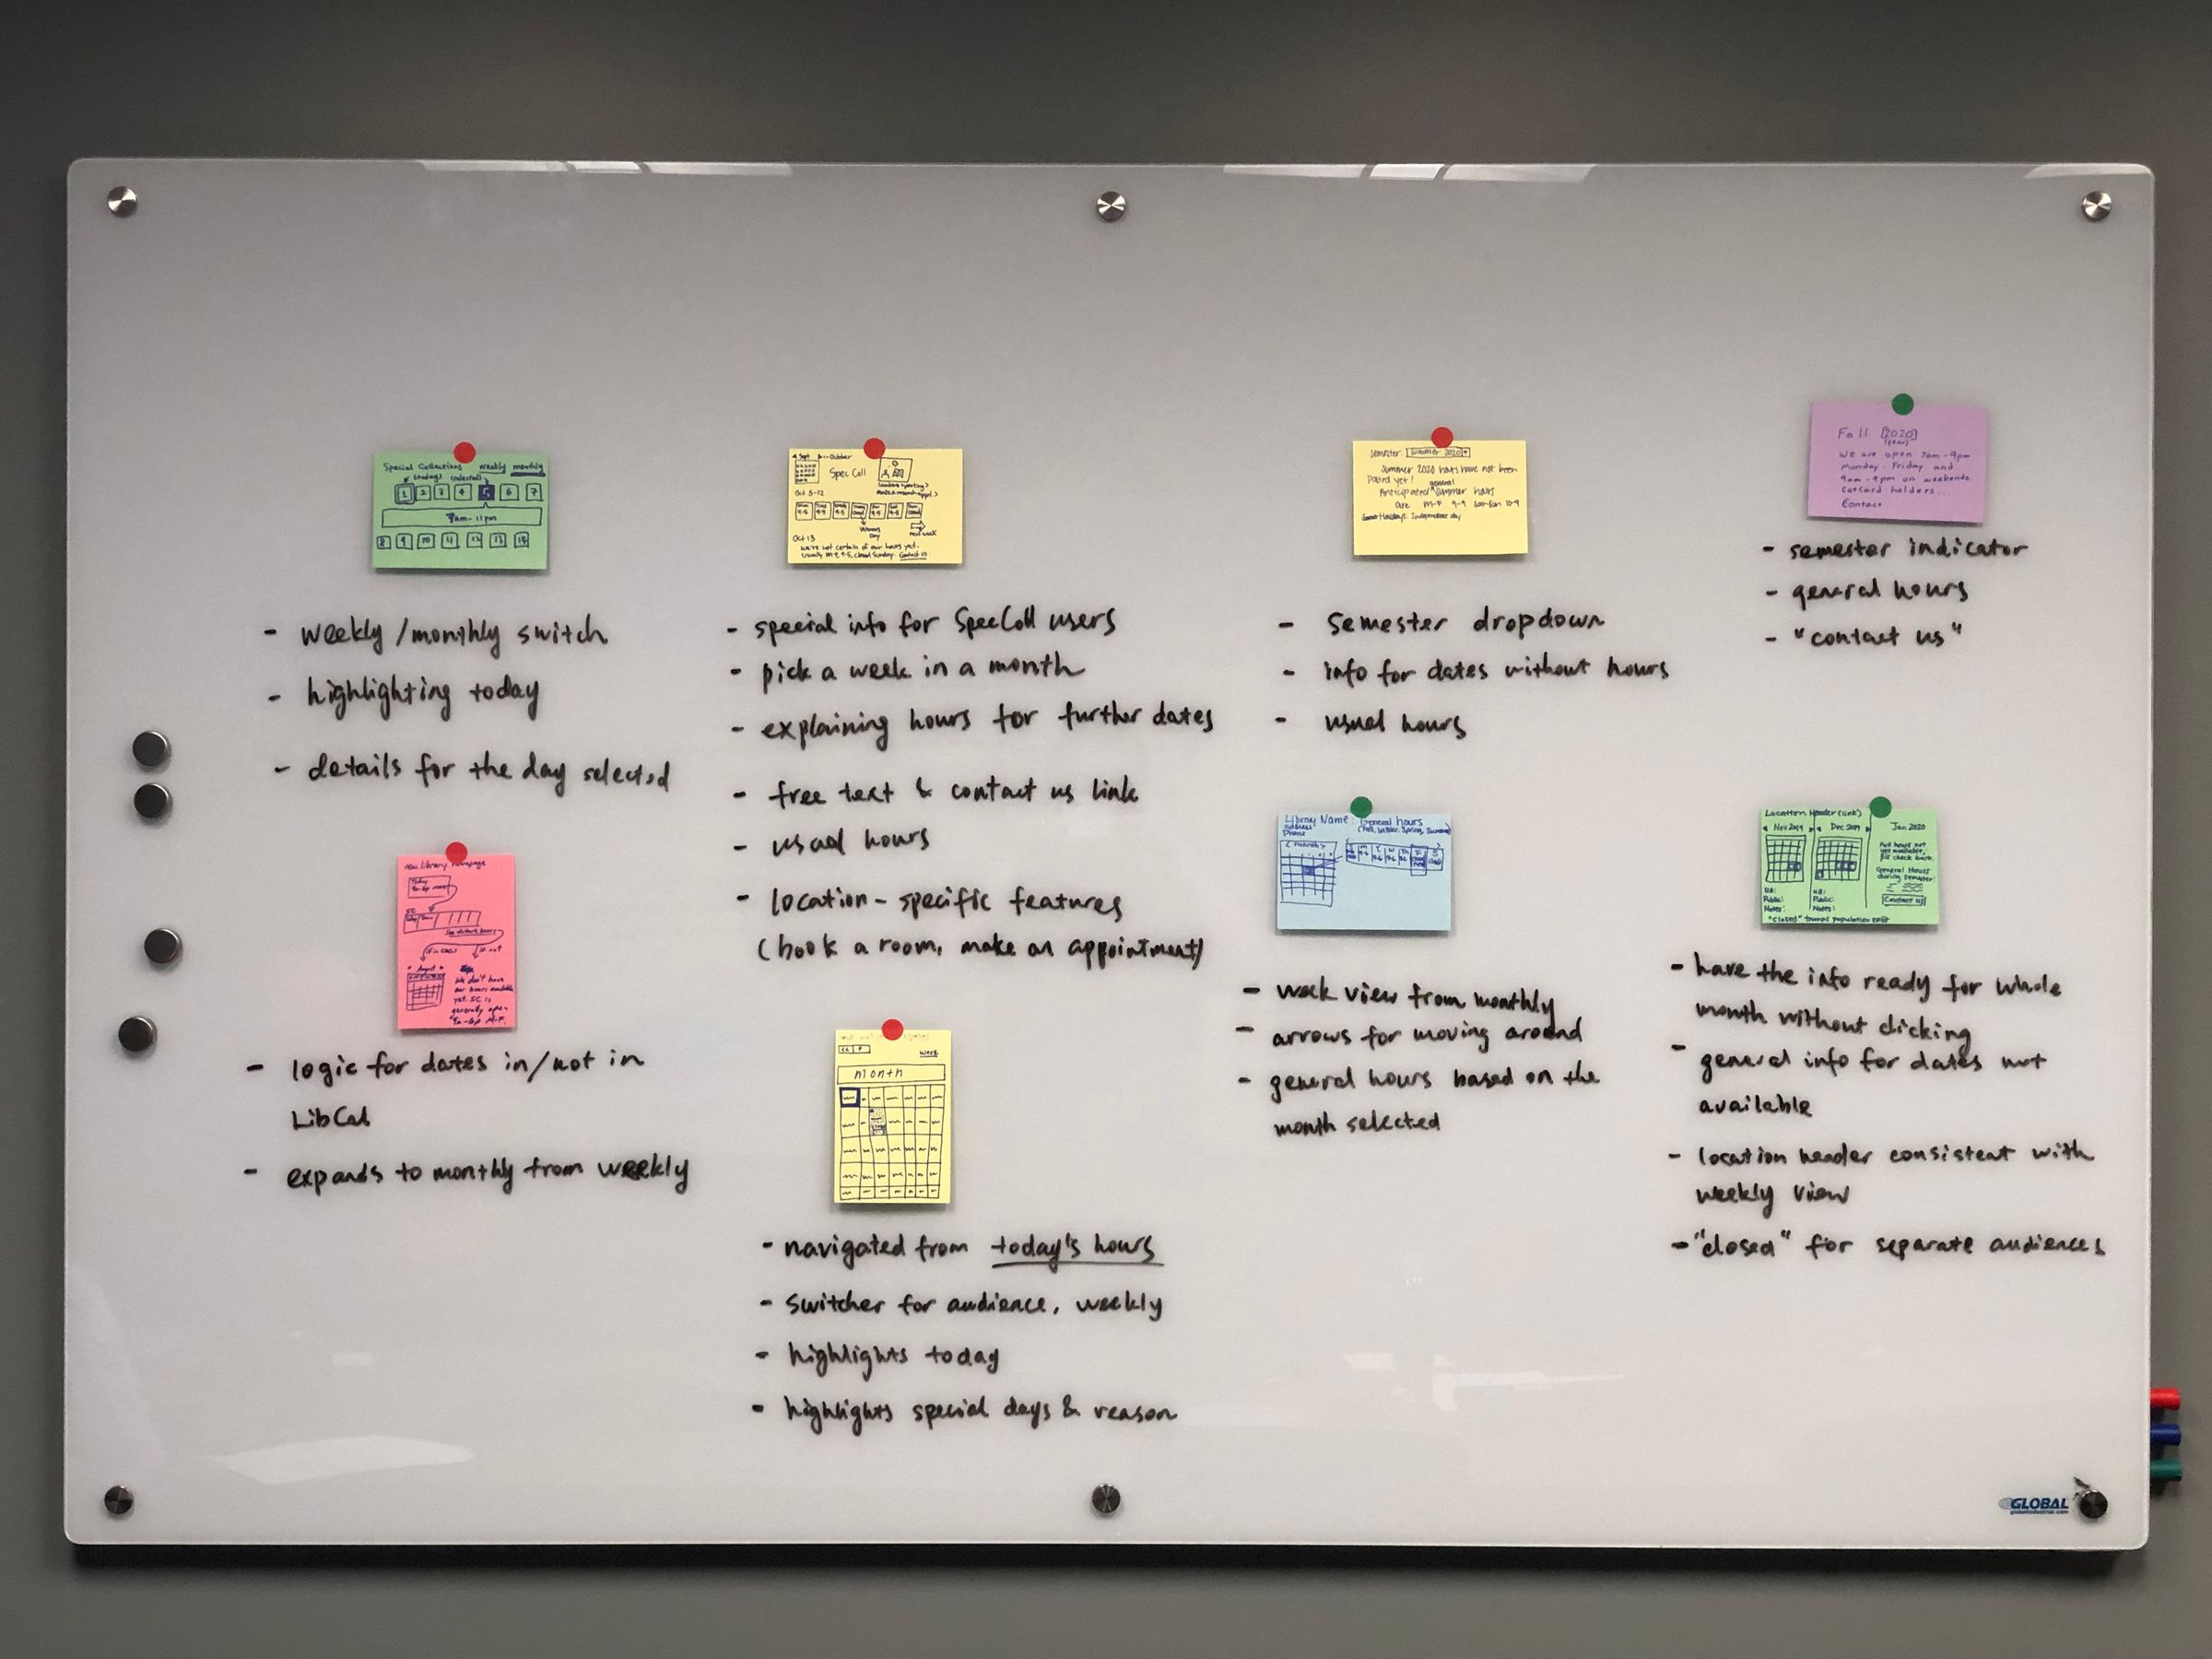
Once every participant has done sharing, the facilitator starts a recap. Describe designs that received many votes, had the most agreement, or led to an active discussion. At the end, put these features or patterns in a “wish list.”
Before and after the design studio
As the facilitator, it’s a good idea to come to the design studio prepared. The right amount of research will help you narrow down to the right scope for the workshop. Before the design studio, consider:
- Conducting user research. Interview the users to understand their journey, and run usability testing to probe what is and isn’t working.
- Talking to the stakeholders. Know their roles and have an initial understanding of their goals, needs, pain points, and capacity.
Once you wrap up the design studio, make sure you share findings, including whiteboard snapshots and the final “wish list,” with the project team. Then use the “wish list” as a starting point for drafting project requirements and wireframes.
Can I do it online?
Yes! The design studio is flexible enough to be tweaked for fully-remote teams. All you need is an online whiteboard tool — I use Figjam but other online whiteboards, such as Miro and Freeform, work equally well.
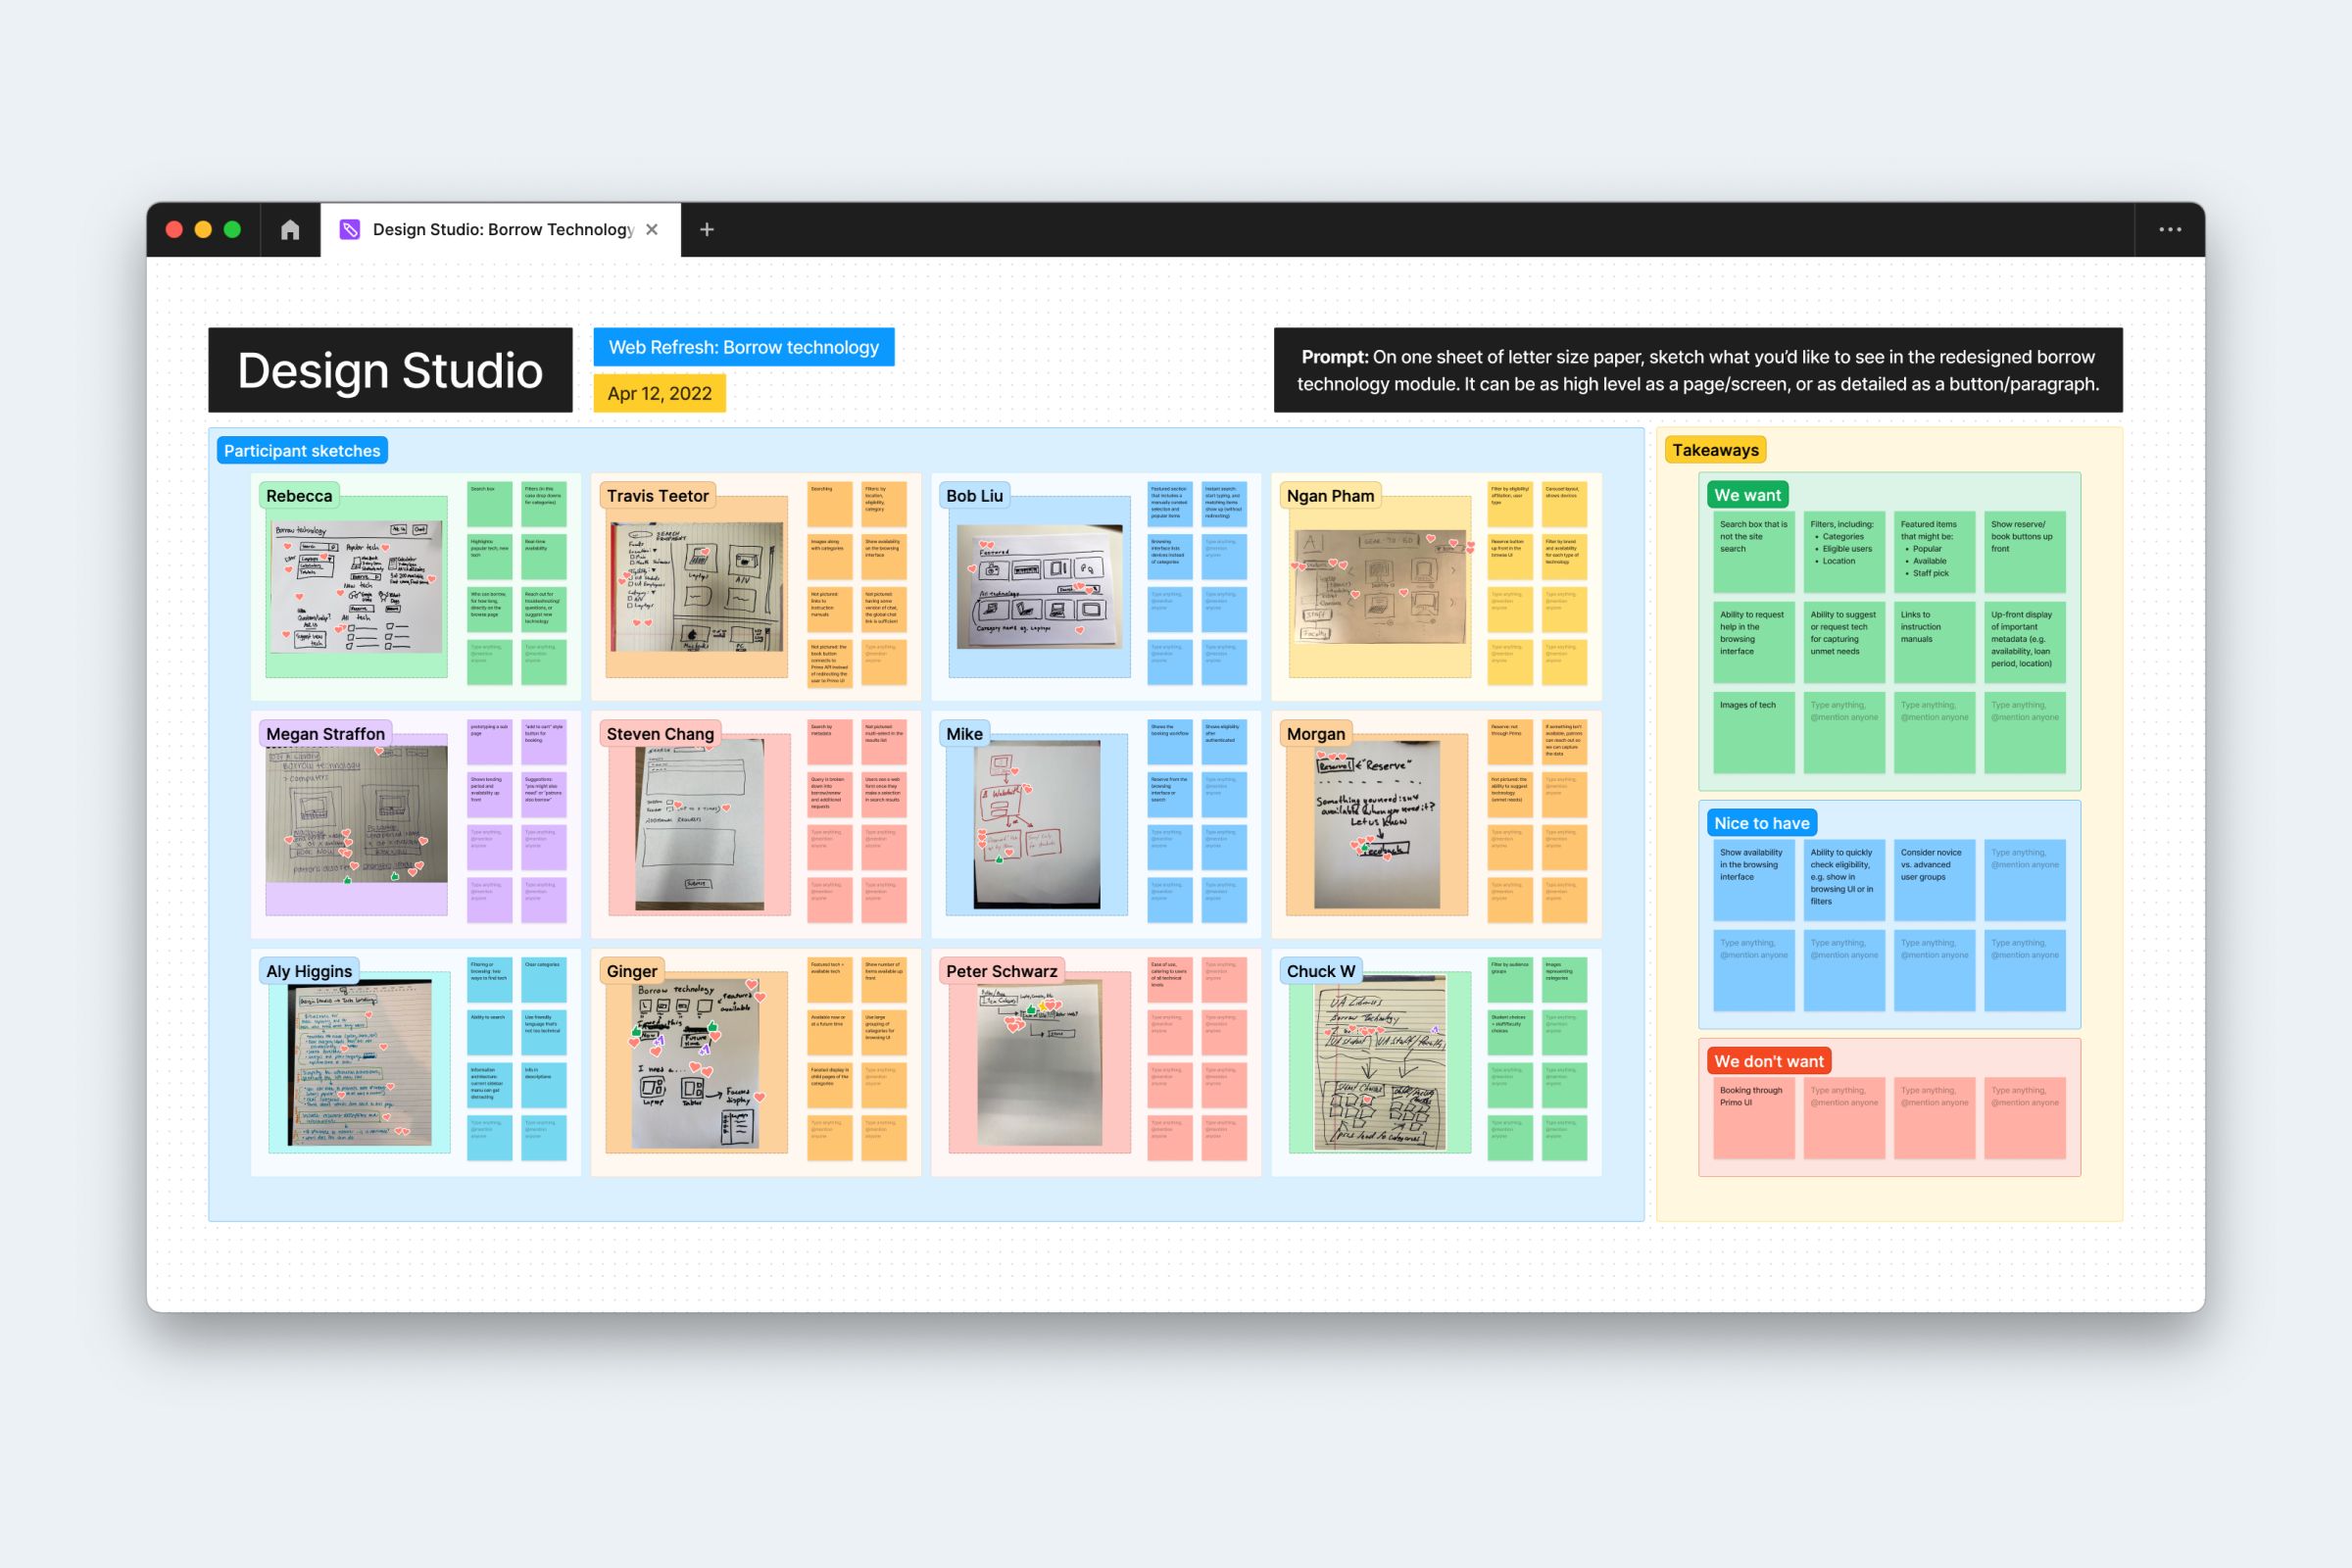
While the whiteboard is virtual, the sketching activity stays analog. As the facilitator, you would still ask the participants to sketch on physical index cards (or index card-sized paper). Once complete, each participant takes photos of their sketches and uploads them to the online whiteboard. All the other steps remain the same.
Your turn
I’d love to hear how your design studio goes! Feel free to get in touch via email or on Mastodon and share your experience.